

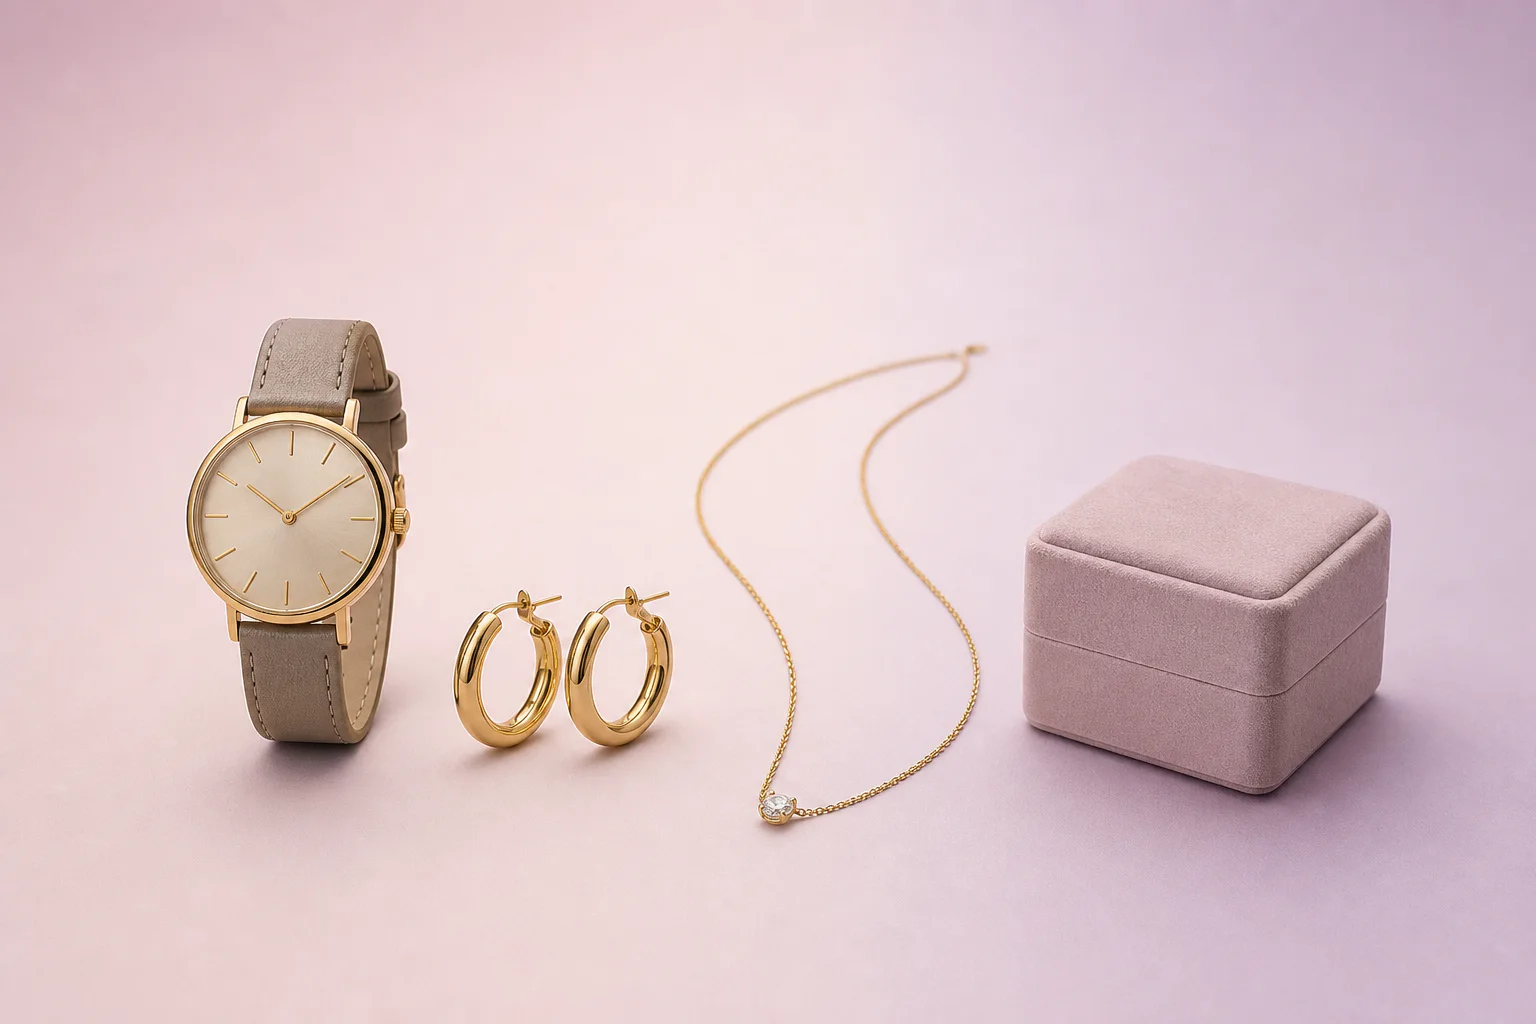
Why jewelry and watches are hard to photograph
Jewelry is small, shiny, and often expensive. On a product detail page (PDP), customers need to understand what they are buying from just a few centimeters of metal and stone: the color of the gold, the clarity of the stone, the chain link, and the size of the case. Every speck of dust and every fingerprint is visible in a macro photo.
Metal also acts like a mirror. A ring or watch crystal reflects the lights, the camera, and the entire room. What has a beautiful shine in real life can quickly turn into a dark patch or a bright white streak in the photo.
Size is also hard to convey. A 12-millimeter earring and a 25-millimeter earring can look exactly the same size in a standalone packshot. That is why a jewelry store needs more than a good packshot: it also needs consistent scale and an on-model image.
The setup: macro, tripod, and fixed distance
Use a macro lens, for example 90 or 100 millimeters, or the macro mode on a good camera. Put the camera on a tripod and use a remote control or self-timer, because at this distance every vibration is visible.
With macro photography, depth of field is shallow: sometimes only a few millimeters are sharp. Choose a smaller aperture, such as f/8 to f/16, and if that is not enough, use focus stacking: multiple photos with the focus point shifted, combined into one fully sharp image.
Keep the setup the same for every item in the same group: the same distance, height, angle, and focal length. Mark the position on the surface with tape. Only then will the proportions between your rings, earrings, and watches also look right on the category page.
- Macro lens or macro mode, camera on a tripod, trigger without touching
- Aperture from f/8 to f/16, or focus stacking for full sharpness
- Ring stand, necklace bust, or watch cushion in a neutral color
- Cotton gloves, microfiber cloth, and an air blower for dust
- Fixed position for the camera and product, marked on the surface
Reflections: show shine without a mirror image
With shiny metal, you are effectively photographing the environment reflected by the metal. So make sure that environment is white and even. A light tent or white panels around the jewelry create soft, consistent reflections; the metal then looks bright instead of black.
If you want contrast and depth in gold or silver, place a black or dark gray card just outside the frame. This creates a dark line along the edge of a ring or case, making the shape easier to read. Small white cards or mirrors add extra sparkle to stones.
With watches, the crystal is the hardest part. Shoot at a slight angle so the crystal does not reflect the camera, and set the hands to a fixed position. Many brands choose ten past ten: the hands form a balanced V, and the brand’s own logo on the dial stays visible.
Tip: use continuous light instead of flash for jewelry. You can see the reflections on your screen before you take the shot, so you need less retouching.
White background and scale: one visual language for everything
A clean white background is the standard for jewelry on webshops and marketplaces. The challenge is that white metal and diamonds can disappear against white. A soft shadow under the piece and a slightly darker edge reflection keep the shape visible.
Scale matters more for jewelry than for almost any other product. If every ring fills the entire image, customers cannot tell the difference between a narrow band and a wide one. Use fixed margins for each product group, or let known measurements such as case diameter, necklace length, and earring diameter determine the size in the image.
Include those measurements in the product text as well. A 40-millimeter case or a 45-centimeter necklace tells a customer more than even the best image, and a worn image shows what that number means.
| Product | Main image | Additional images | Most important size |
|---|---|---|---|
| Ring | Angled from the front, stone visible | Side, inside with stamp, on the hand | Ring size and band width |
| Necklace | Flat or on bust, hanger centered | Detail of link and clasp, around the neck | Length in centimeters |
| Earrings | Pair, slight angle | Detail of clasp, in the ear | Diameter or length |
| Bracelet | Round or on a cushion | Clasp, on the wrist | Inside circumference |
| Watch | Watch face straight, hands in a fixed position | Side with crown, back, strap, on the wrist | Case diameter in millimeters |
On-model images with AI: on hand, wrist, and neck
An on-model image shows how large a piece of jewelry is and how it sits. A ring on a hand, a necklace around the neck, or a watch on the wrist answers the question of scale better than any measurement. Still, many webshops skip this because a hand model and an extra shoot day are expensive.
With AI, you create a worn image from your packshot, without a model and without a shoot. The jewelry comes from your own photo; the hand, wrist, or neck is generated around it. An AI image costs €0.05 – €0.21 per photo in the queue and is often ready within an hour.
Be critical with jewelry. Small details such as the number of stones, the shape of a link, or the text on a watch face must be exactly right, and AI can get those wrong. Compare every worn image with the packshot before it goes live, and use it to supplement a real product photo, not replace it.
How much does jewelry photography cost?
Jewelry takes more work than a regular packshot: macro photography, focus stacking, and retouching dust, scratches, and reflections. As a guideline, a specialized studio therefore charges €10 to €35 per image, and more for complex pieces with many stones. A hand model for worn images is added per day.
If you shoot in-house, a macro lens, tripod, light tent, and two continuous lights are a modest investment. Most of the time then goes into cleaning, positioning, and retouching, which can easily take several minutes per image.
| Route | Indicative | Lead time |
|---|---|---|
| Specialized studio, packshot with retouching | €10 – €35 per image | Days to weeks, plus insured shipping |
| Outsource retouching only | €3 – €15 per image | A few days |
| Hand model for on-model images | Day rate plus studio | Plan by shoot day |
| Your own photo plus automatic editing | In the monthly plan from €500 | Immediately after capture |
| AI packshot or AI on-model image | €0.05 – €0.21 per image | Often within an hour |
When you are better off hiring a specialized photographer
For high-end jewelry and luxury watches, where a customer is spending thousands of euros, a specialized photographer is often the better choice for the main image. Focus stacking, sparkle in diamonds, and perfectly polished metal require craftsmanship and time that you cannot simply automate.
For campaigns and editorials, with styling, atmosphere, and a real model, a shoot is still the right route. Automation mainly helps at scale: hundreds or thousands of items, variants in metal and stone, and sets that need to go online consistently and quickly.
How Photopilot keeps jewelry and watches consistent
Photopilot keeps the front view, clasp, material, and model shot in a fixed order for the correct item and variant. Color, metal, stone, size, and version stay linked to the right image, so variants that look very similar are not mixed up.
Known case sizes, lengths, and diameters can drive image margins and scale checks, keeping variants believable next to each other without manual correction per item. Background, shadow, crop, and color correction are included in the monthly plan. An AI packshot keeps the piece of jewelry at the same angle as in your photo, preserves stones and details, and removes price tags and security labels.
You combine jewelry, a watch, and gift packaging into a complete set; the set image is published together with the individual items and remains linked to those items in the online store. For each brand or collection, you choose whether results go live automatically or first pass through a quick review.