

Why shoes are different from clothing
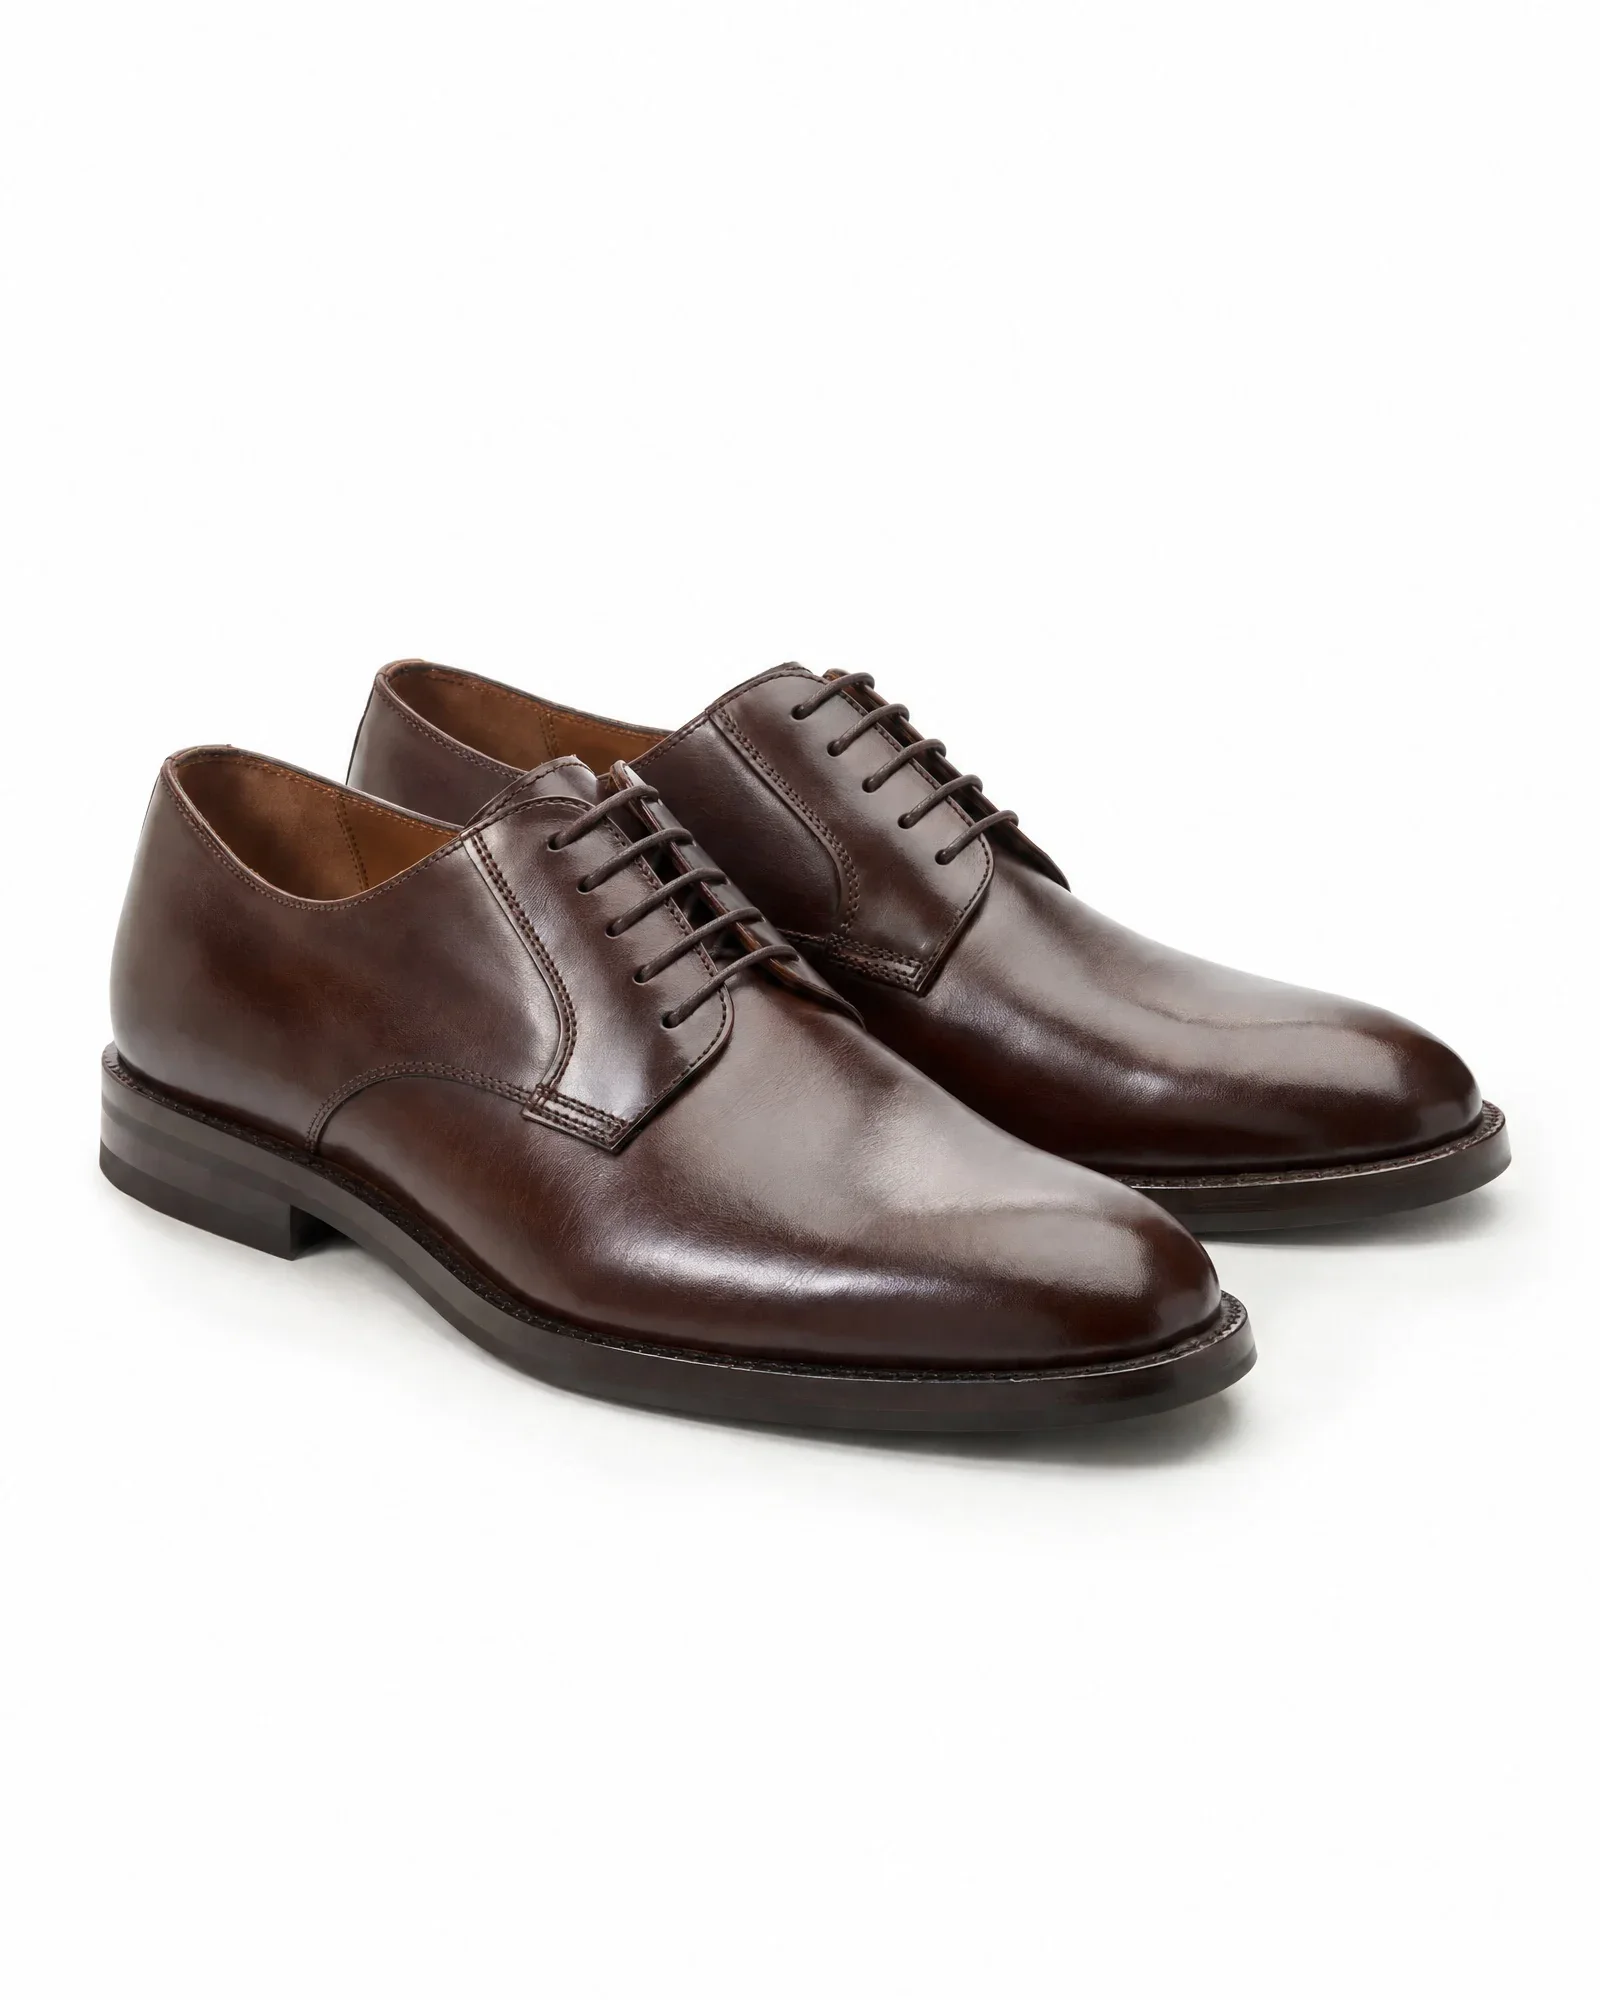
A shoe is a solid, three-dimensional product with shiny parts, a sole customers want to see, and a fit you cannot show on a mannequin. With apparel, you mainly work with how the fabric falls; with shoes, it is all about angle, lighting, and consistency.
Customers compare shoes side by side on a category page. If one sneaker points left and another points right, or an ankle boot appears smaller than a loafer, your online store looks inconsistent. That is why a fixed image order and a fixed direction for shoes are even more important than they are for clothing.
Shoes are also one of the categories with the highest return rates because customers are unsure about fit and size. Good side, back, and sole images answer questions that customers would otherwise only be able to answer after delivery.
Which views does a shoe need?
The outer side shot is the main image, also known as the hero image for the product detail page (PDP) and category page. Choose one direction for your entire assortment, usually with the toe pointing left, and stick to it every time.
Next come the views that answer customer questions: the inside for zippers and stitching, the front for the last and toe shape, the back for the heel counter and heel height, the sole for tread and material, the top view for width and the insole, and the pair as a lifestyle image. Not every shoe needs all seven; a sandal does not have a back that raises questions.
| View | What it shows | Priority |
|---|---|---|
| Outside side | Silhouette, style, and height; the main image | Always |
| Inside side | Zipper, stitching, inside of the shaft | For boots and sneakers |
| Before | Toe shape and last width | Recommended |
| Back | Heel, heel height, pull tab | Recommended |
| Sole | Profile, material, size stamp | Recommended, especially for sports and outdoor |
| Top view | Width, insole, laces | Optional |
| Pair, front three-quarter view | Mood and how the pair looks together | Recommended as the second image |
Light and reflections: shiny leather without hotspots
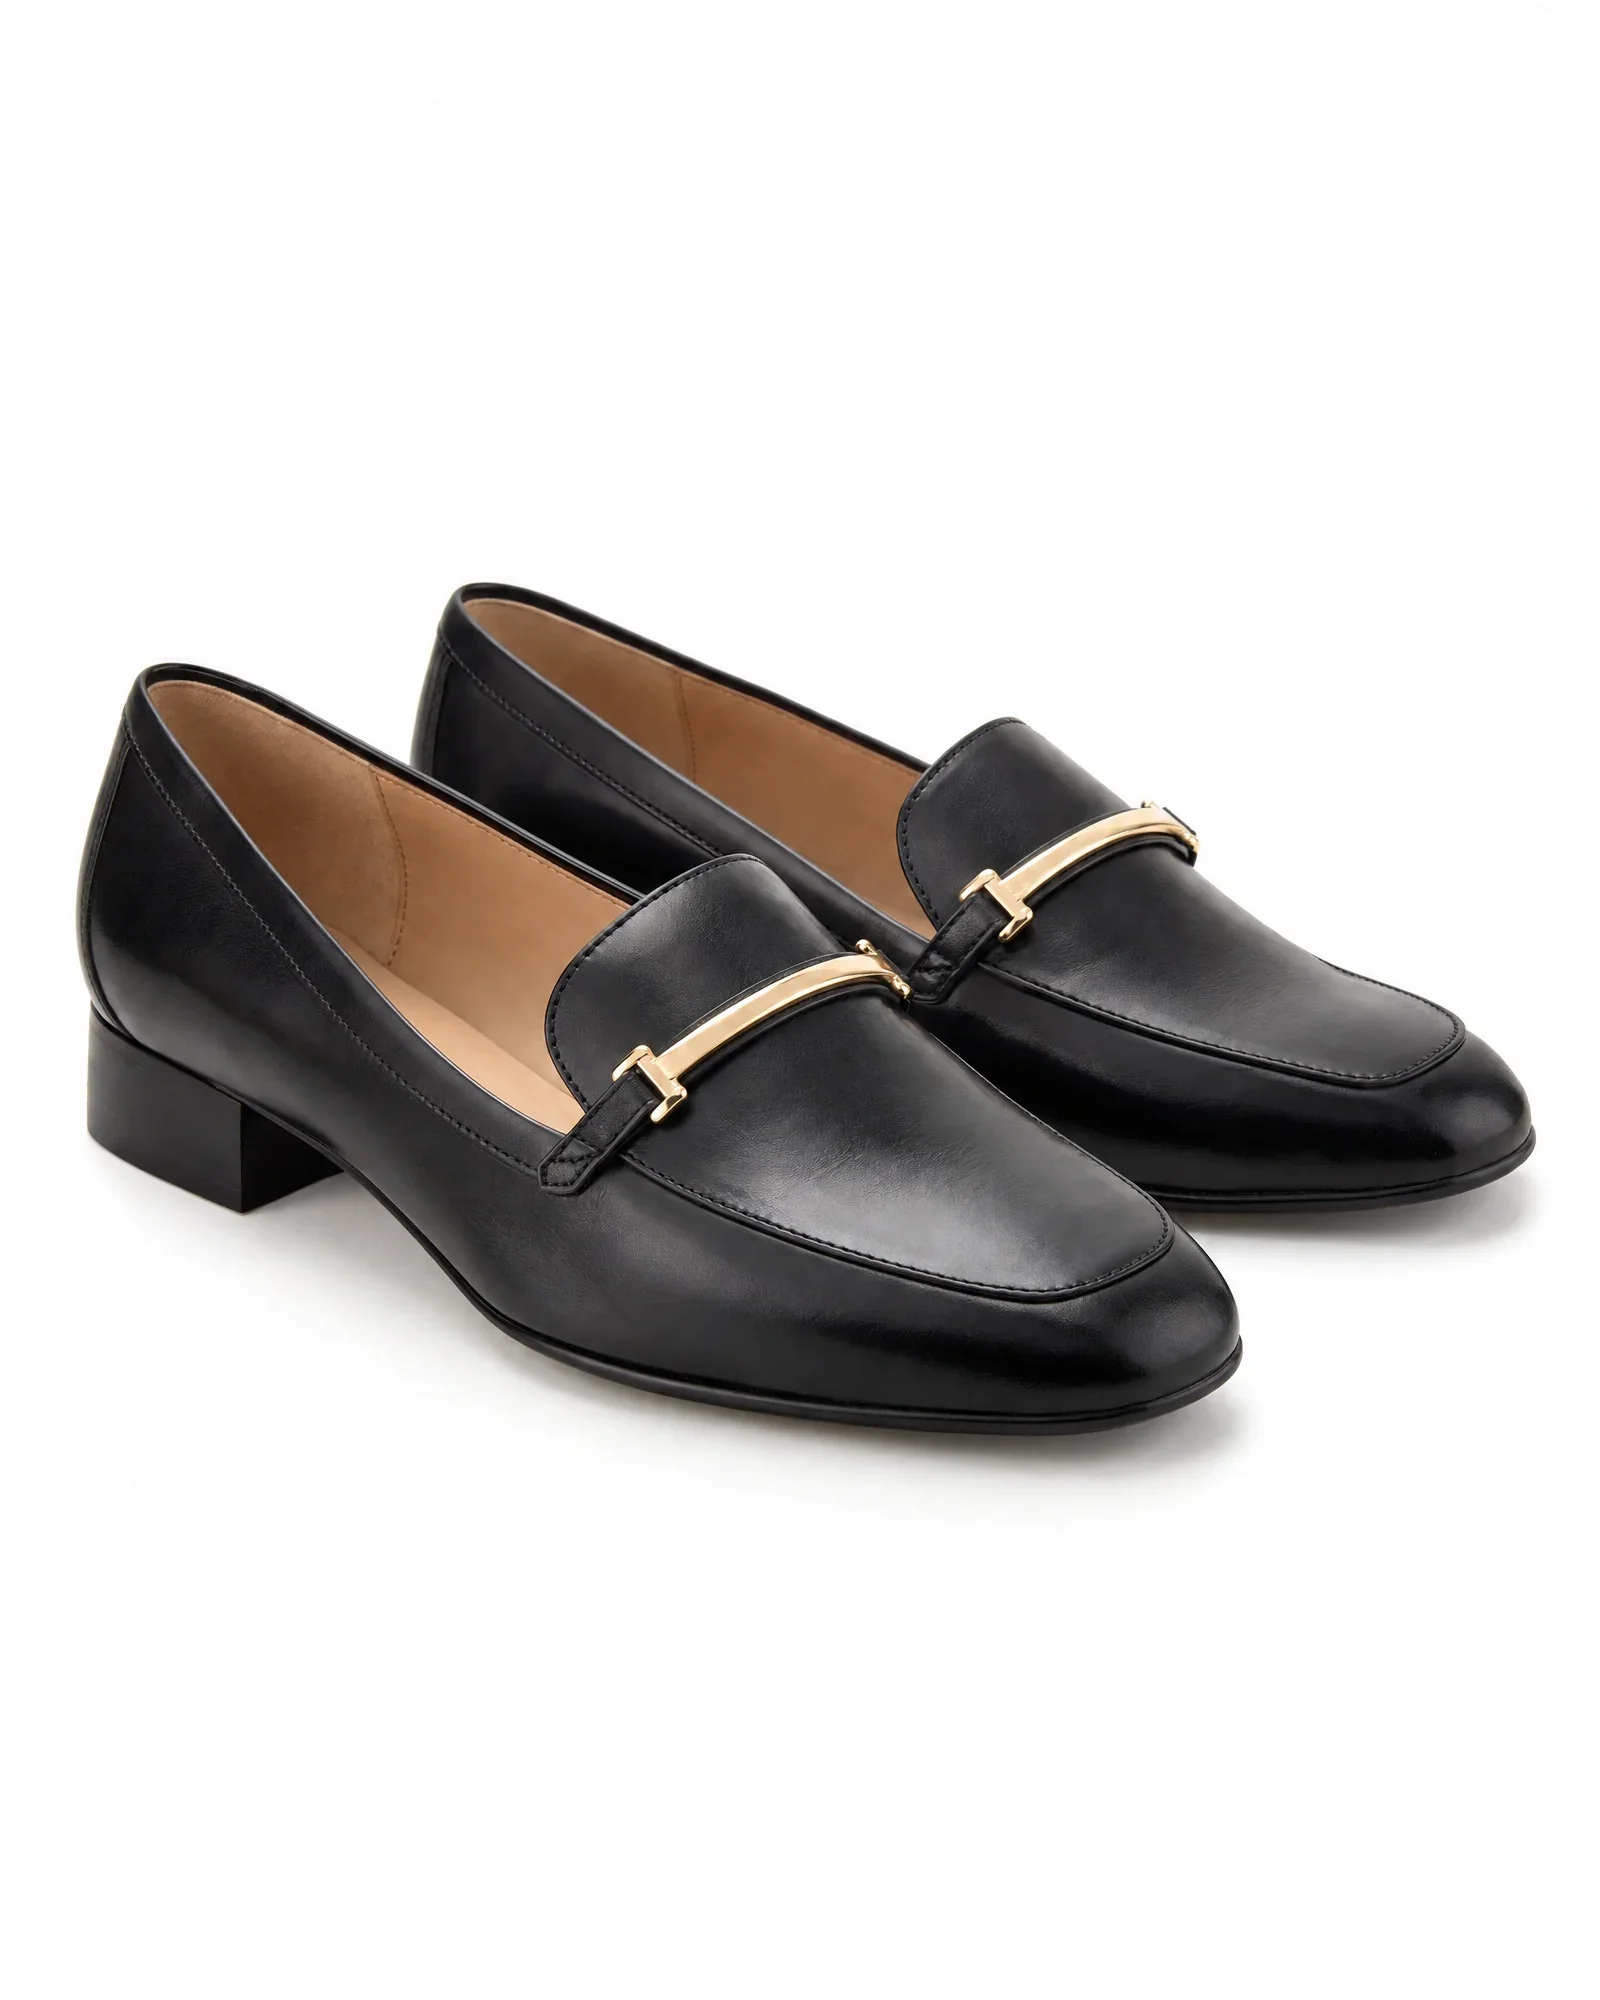
Patent leather, polished leather, and metal buckles reflect everything in front of the shoe: lights, the camera, even you. Use large, soft light, such as two softboxes or strip lights on the left and right, and avoid a bare flash straight from the front.
A clean light reflection along the length of the shoe looks attractive and shows the shape; blotchy hotspots do not. Move the light until the reflection becomes a calm line. For very shiny shoes, a polarizing filter helps, or a white reflector on the camera side.
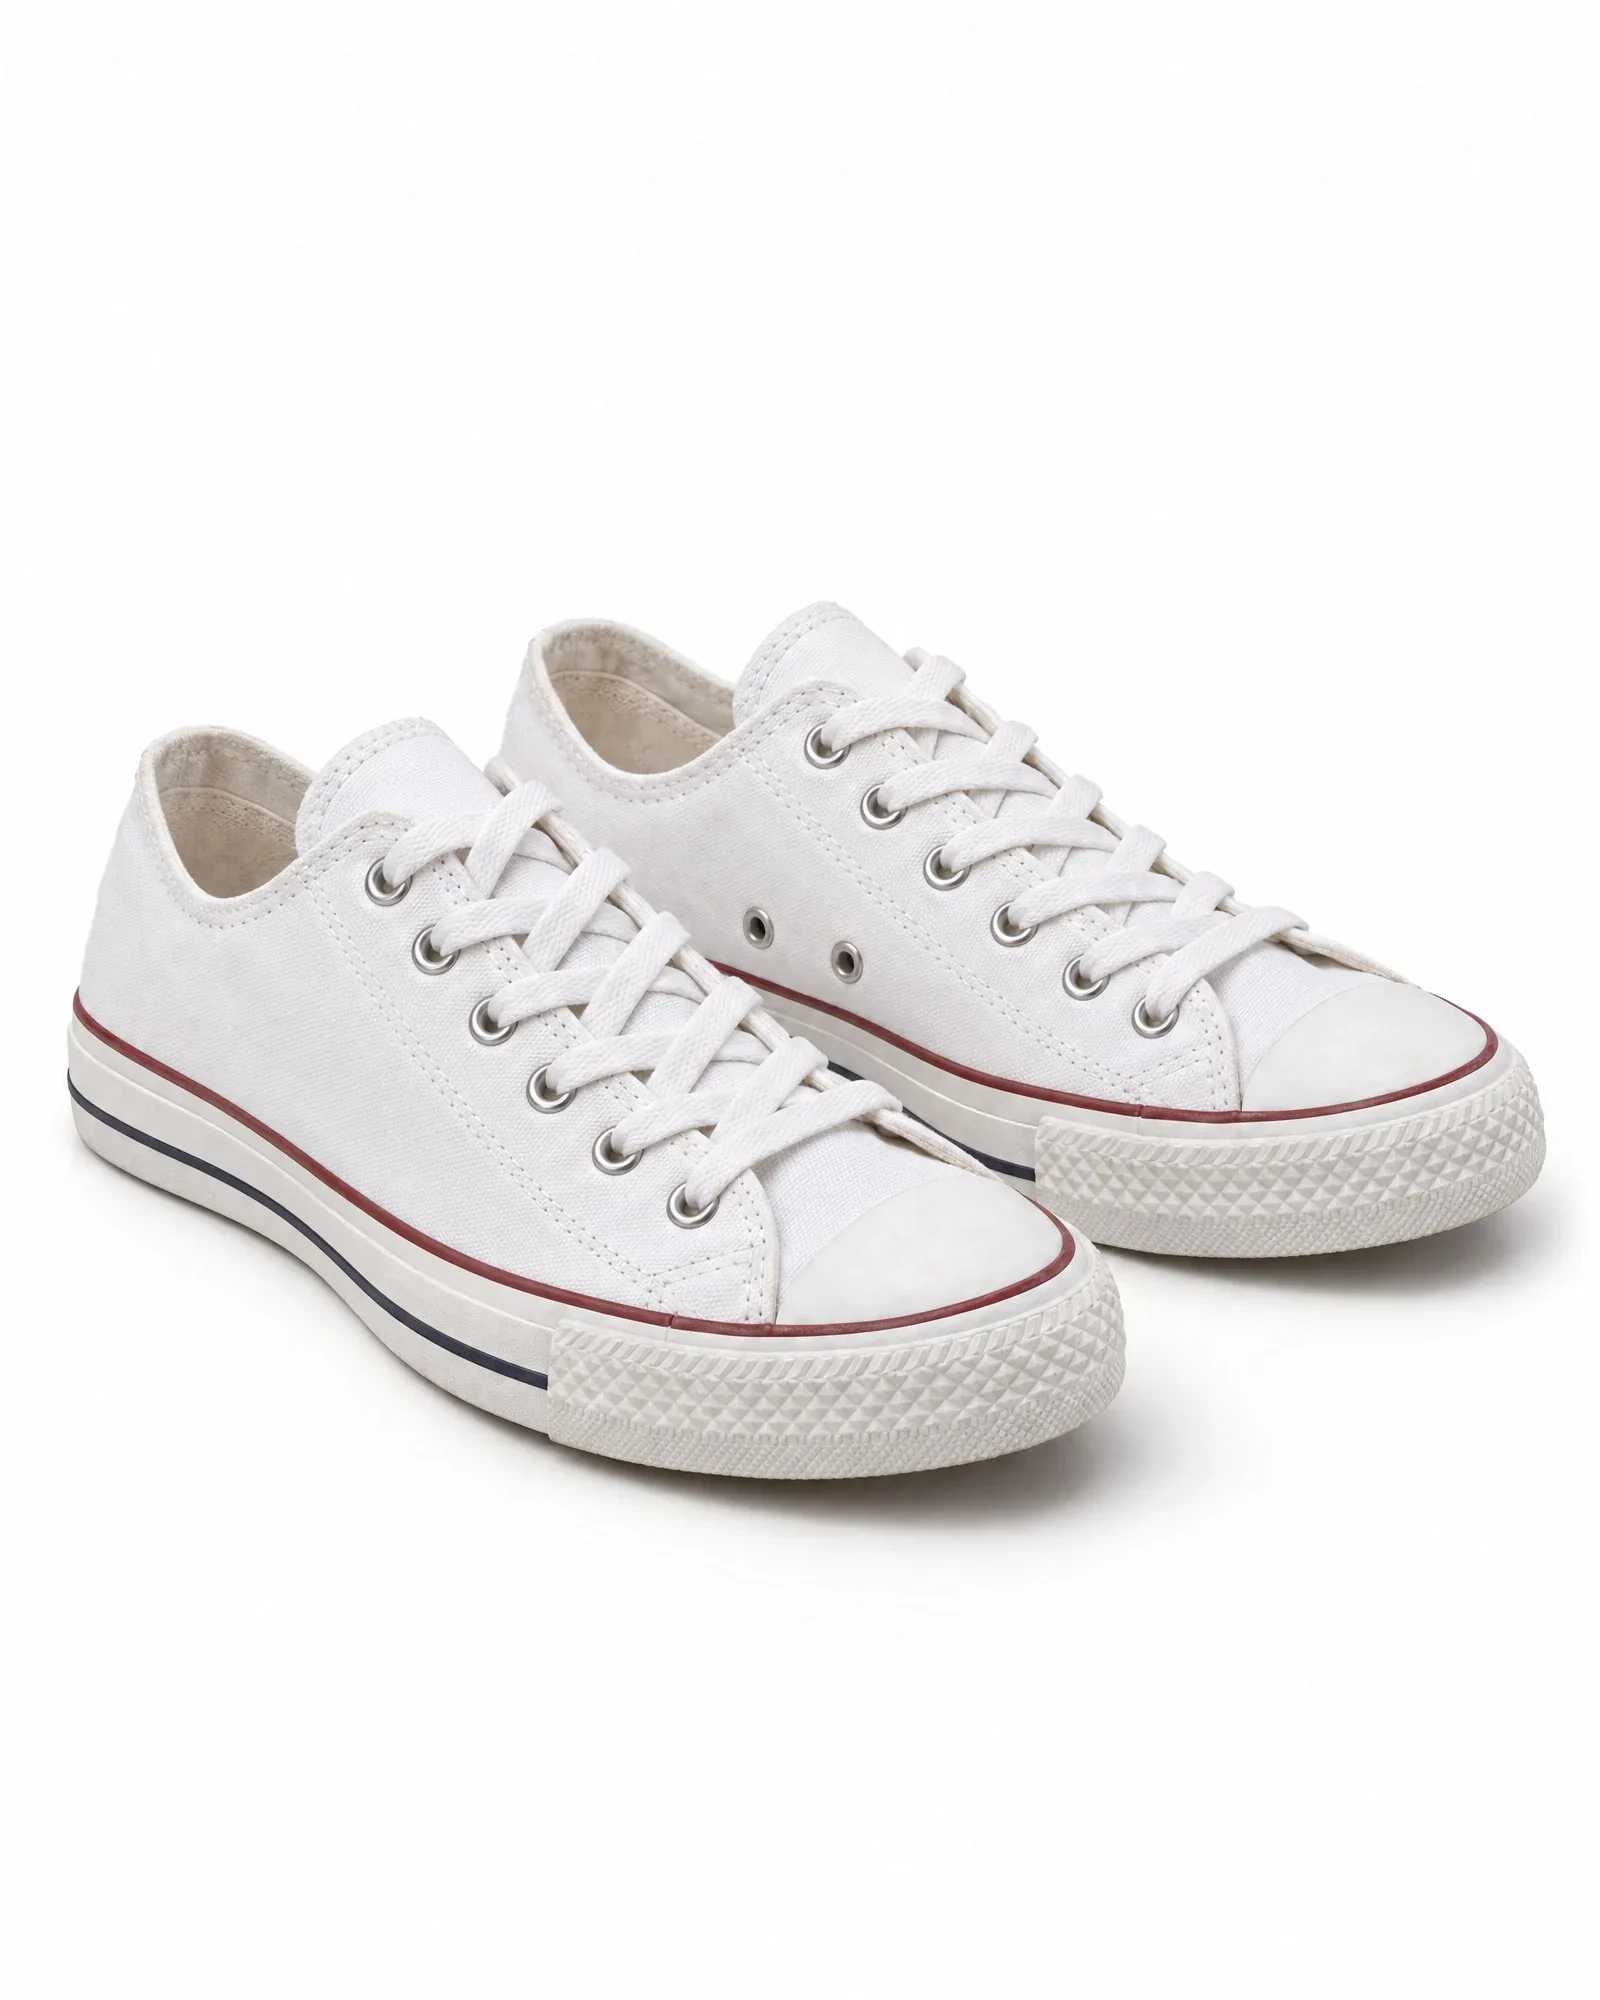
Matte materials such as suede and canvas need grazing light to show their texture. Position the light a little lower and more from the side. Document your settings per material so the next photographer gets the same result.
- Two large, soft light sources from the left and right, with light from above
- Camera on a tripod, at sole height or slightly above, always in the same position
- White reflector or polarizing filter for patent leather and metal
- Laces neatly tied, price tags, security labels, and packing paper removed
- Shoes clean and dust-free; wipe the sole with a damp cloth
Shadow and background
A shoe without a shadow looks like it is floating. A soft ground shadow under the sole adds weight and shows that the shoe is standing. Hard, long shadows to the side are distracting and look different on every shoe.
Shoot on an even, light surface and keep enough distance between the shoe and the background so no shadow falls on the back wall. In post-production, make the background completely white and place the same soft shadow under every shoe. This can be the real shadow from your photo, or a soft layer calculated from the shape of the shoe.
Choose one style for your entire assortment: white with a soft shadow, or a light color if your brand identity calls for it. If you switch by brand or season, the category page quickly starts to look messy.
Scale and crop: every shoe the same size
The hardest part with shoes is scale. If every shoe fills the frame, a size 36 sneaker looks the same size as a size 46 tall boot. That may look good in each individual photo, but it is confusing in an overview.
For each product group, choose a fixed crop: a fixed baseline for the sole, fixed left and right margins, and the same aspect ratio for all images, such as 3:4 or 4:5. Boots get a different top margin than sneakers, but within each group everything is aligned.
If you want height differences to remain visible, base the scale on product dimensions. An ankle boot will then appear genuinely taller than a loafer, while the sole stays on the same line. This only works if the dimensions are included in your item data.
Shoot it yourself, outsource it, or use supplier images?
At a packshot studio, a shoe image on white typically costs around €5 to €15 per image. With five to seven views per item, that adds up quickly, and your shoes are away for a few days to several weeks. A 360° shot usually costs extra.
Many shoe brands supply their own images through Fashion Cloud or a portal. They are often good, but every brand has its own angle, shadow, and margin. That means you do not need to shoot them, but you do need to standardize them: the same background, shadow, baseline, and order.
| Route | Cost per image | Lead time | Note |
|---|---|---|---|
| Packshot studio | €5 – €15 | Days to weeks | Shoes are out of the store |
| Your own setup | Mostly hours | Same day | One-time investment in lighting and camera |
| Supplier images | €0 | Immediately on arrival | Angle and shadow vary by brand |
| Phone photo plus AI packshot | €0.05 – €0.21 | Often within an hour | The angle of your photo remains the angle of the packshot |
When automatic editing is not enough
Software can replace a background, even out a shadow, and remove a price tag, but it cannot change an angle without guessing. A shoe photographed at an angle from above will not automatically become a clean side shot. So shoot from the right angle, even with a phone.
For luxury shoes, campaign images, or a lookbook, a photographer with styling is often the better choice. Automation is strong for hundreds of consistent PDP images, not for that one image for the storefront. And if you only have a handful of new styles per season, a good studio can handle it for a few hundred euros.
How Photopilot keeps shoe photos consistent
In Photopilot, each product type gets its own image rules: a shoe gets the views, margins, and crop that suit shoes, which are different from those for pants or a bag. Background, shadow, crop, and color correction are included in the monthly plan, from €500 per month. If the product dimensions are known, dynamic scaling controls the size in the image.
When you create an AI packshot from a photo taken in the store or warehouse, Photopilot keeps the shoe at the same angle as your photo, places it on white with a soft ground shadow, and removes price tags, security tags, and barcode stickers. Brand names and logos that are part of the shoe stay in place. This costs €0.05 – €0.21 per image and is often ready within an hour.
When you shoot with the iPhone app or Photopilot Studio, every photo is immediately assigned to the right item and image slot. Supplier images from Fashion Cloud come in automatically by EAN. For each brand, you choose whether the result goes live automatically or first goes through a quick review, and you can also create an AI model photo or a 360° product video from the same shoe.