

The basic setup: fixed position, tripod, even background
The most important decision is not which camera to buy, but setting up a fixed space that you do not have to rebuild every time. A two-by-three-meter corner is enough for flat lays and a mannequin. Mark where the camera, tripod, and product go with tape, so every photo is taken from the same distance and height.
Choose an even white or light gray background: a roll of photo paper, a painted wall, or a white board on the floor for flat lays. The background does not have to be perfectly white, because it will be replaced later. It does need to be even, without stains, seams, or objects partly in the shot.
Keep a steamer, pins, clips, a lint roller, and scissors for loose threads next to the set. Every minute you spend on the garment before the photo saves much more time in post-production, and software can never remove a wrinkle as well as a steamer.
- Tripod with a fixed floor mark
- Plain white or light gray background
- Two soft light sources, to the left and right of the product
- Steamer, lint roller, pins, and clips
- Barcode scanner or phone to scan the item
Lighting: soft, even, and always consistent
Daylight may seem free, but it changes by the hour and by the season. As a result, the same sweater looks different in the morning than in the afternoon, and the color in your webshop no longer matches the real product. For a webshop, you should use artificial light that you set up the same way every day.
Two softboxes or LED panels with diffusers, placed diagonally to the left and right of the product, create soft light without harsh shadows. Set them at the same distance and brightness, and turn off the other lights in the room. Use lights with a high color rendering index and set a fixed white balance on the camera instead of using auto white balance.
As an indication, a set of two good LED panels or softboxes costs €150 to €600; studio strobes with modifiers are around €800 to €2,500, based on 2026 market prices in the Netherlands. At the start of every new session, photograph a gray card or a fixed reference item first, so you can immediately see whether anything has shifted.
Mixed light is the biggest color killer: daylight through the window plus a warm ceiling light plus your softbox gives you three color temperatures in one photo.
Flat lay, hanger, mannequin, or model: which method should you choose?
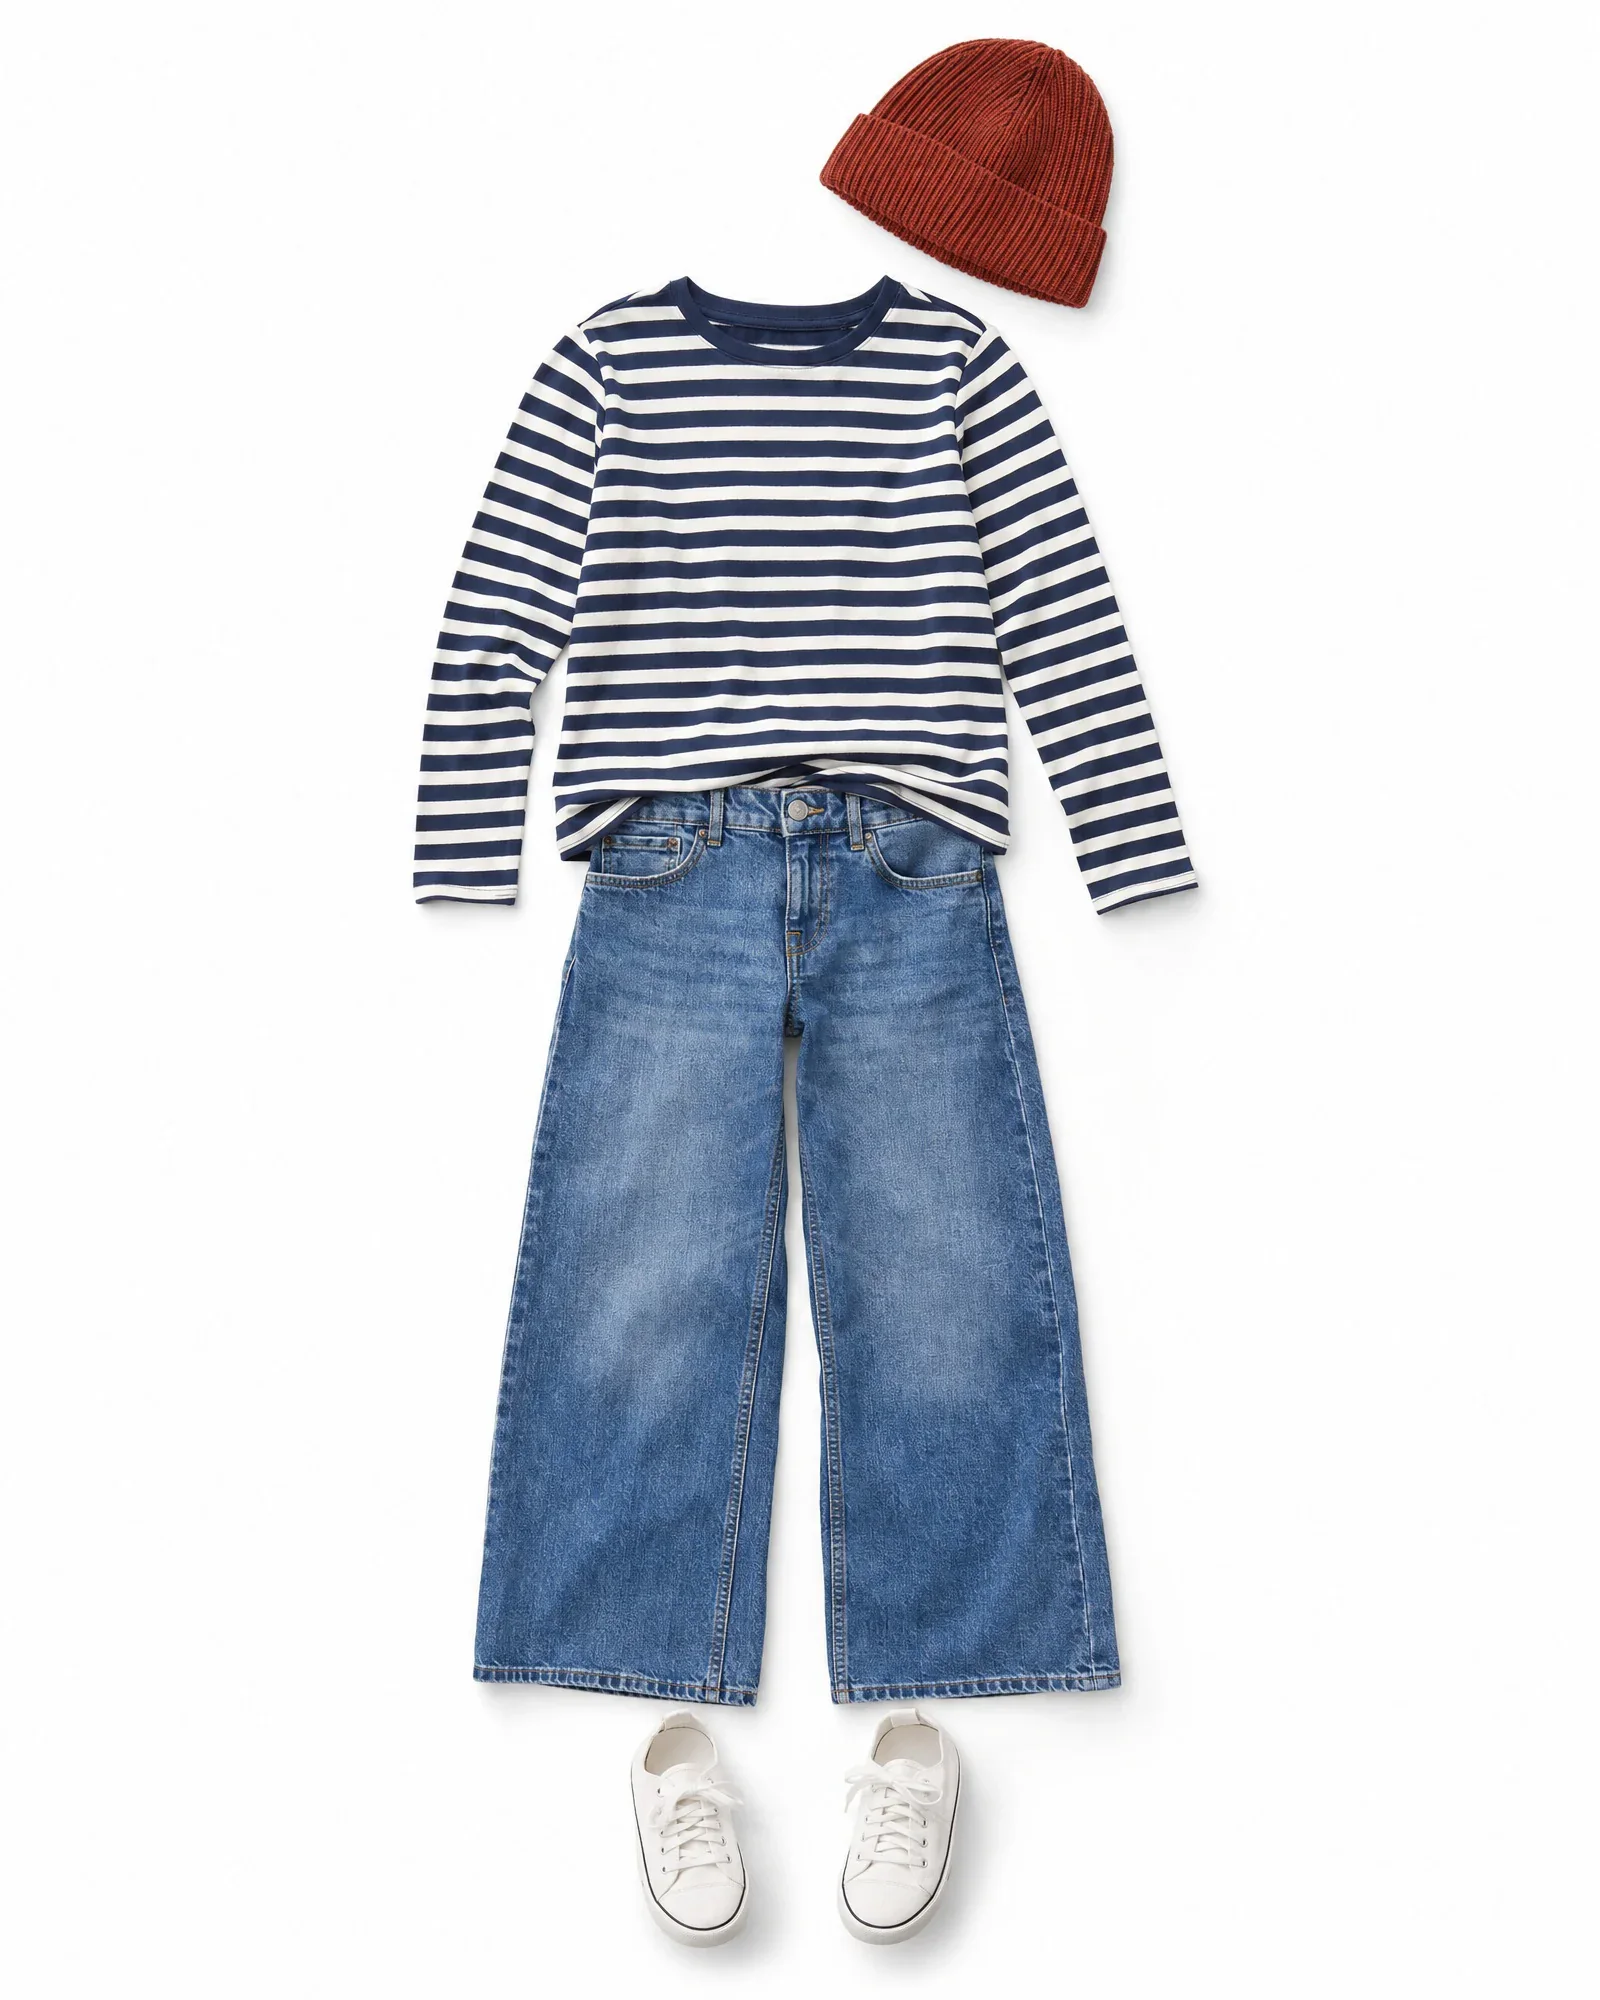
There are four common ways to photograph clothing, and the best online stores choose one method for each product group and stick to it. With a flat lay, you lay the garment flat and shoot it from directly above. It is fast and inexpensive, but it shows little about the fit. Shooting on a hanger is even faster, but it can quickly look like a secondhand listing.
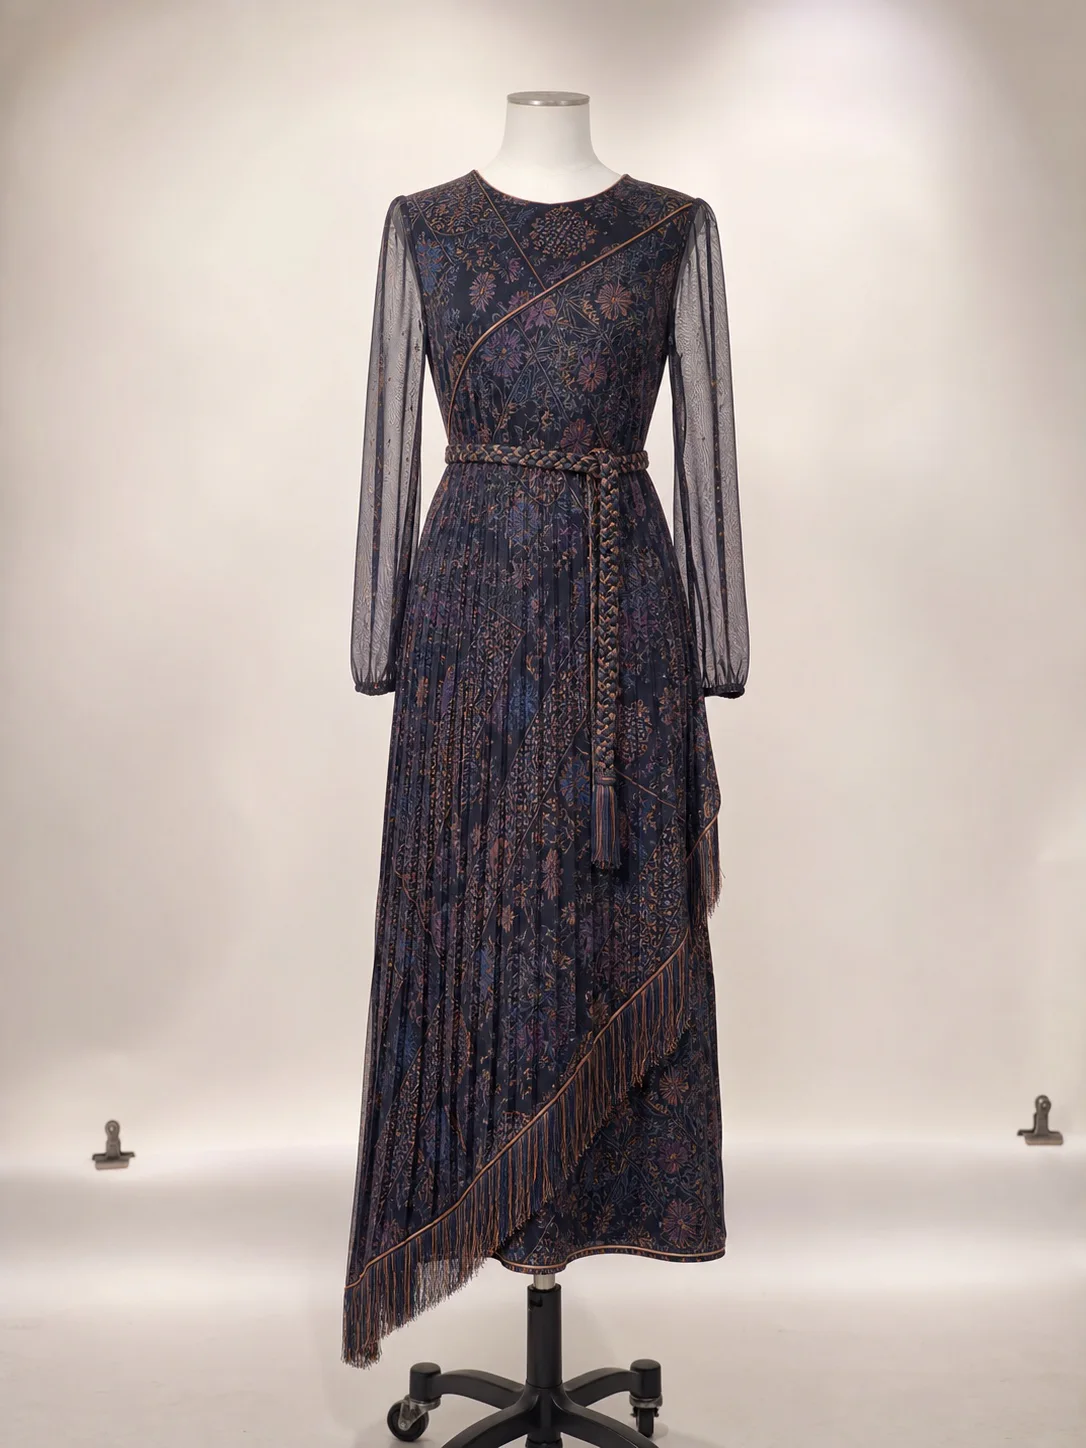
On a mannequin, the garment gets volume and shoulders. If you then remove the mannequin, this is called a ghost mannequin or hollow mannequin effect, and the garment appears to float. On-model, meaning worn by a model, shows the fit best, but requires a model, styling, and more time per product.
Many webshops use a combination: a packshot on a mannequin or as a flat lay as the first image in the list, and a model photo as the second image or hover image. Increasingly, that model photo is created with AI from the packshot, so you only need the studio for the product image.
| Method | Time per item | Fit visible | Works well for |
|---|---|---|---|
| Flat lay | 1 – 3 minutes | Low | T-shirts, children’s clothing, socks, accessories, sets |
| Hanger | 1 – 2 minutes | Fair | Shirts, blouses, fast check-in |
| Mannequin or ghost mannequin | 3 – 6 minutes | Good | Coats, blazers, sweaters, dresses, pants |
| On-model | 10 – 20 minutes | Very good | Hero images, fit-critical items, campaigns |
Which views should you shoot for each product type?
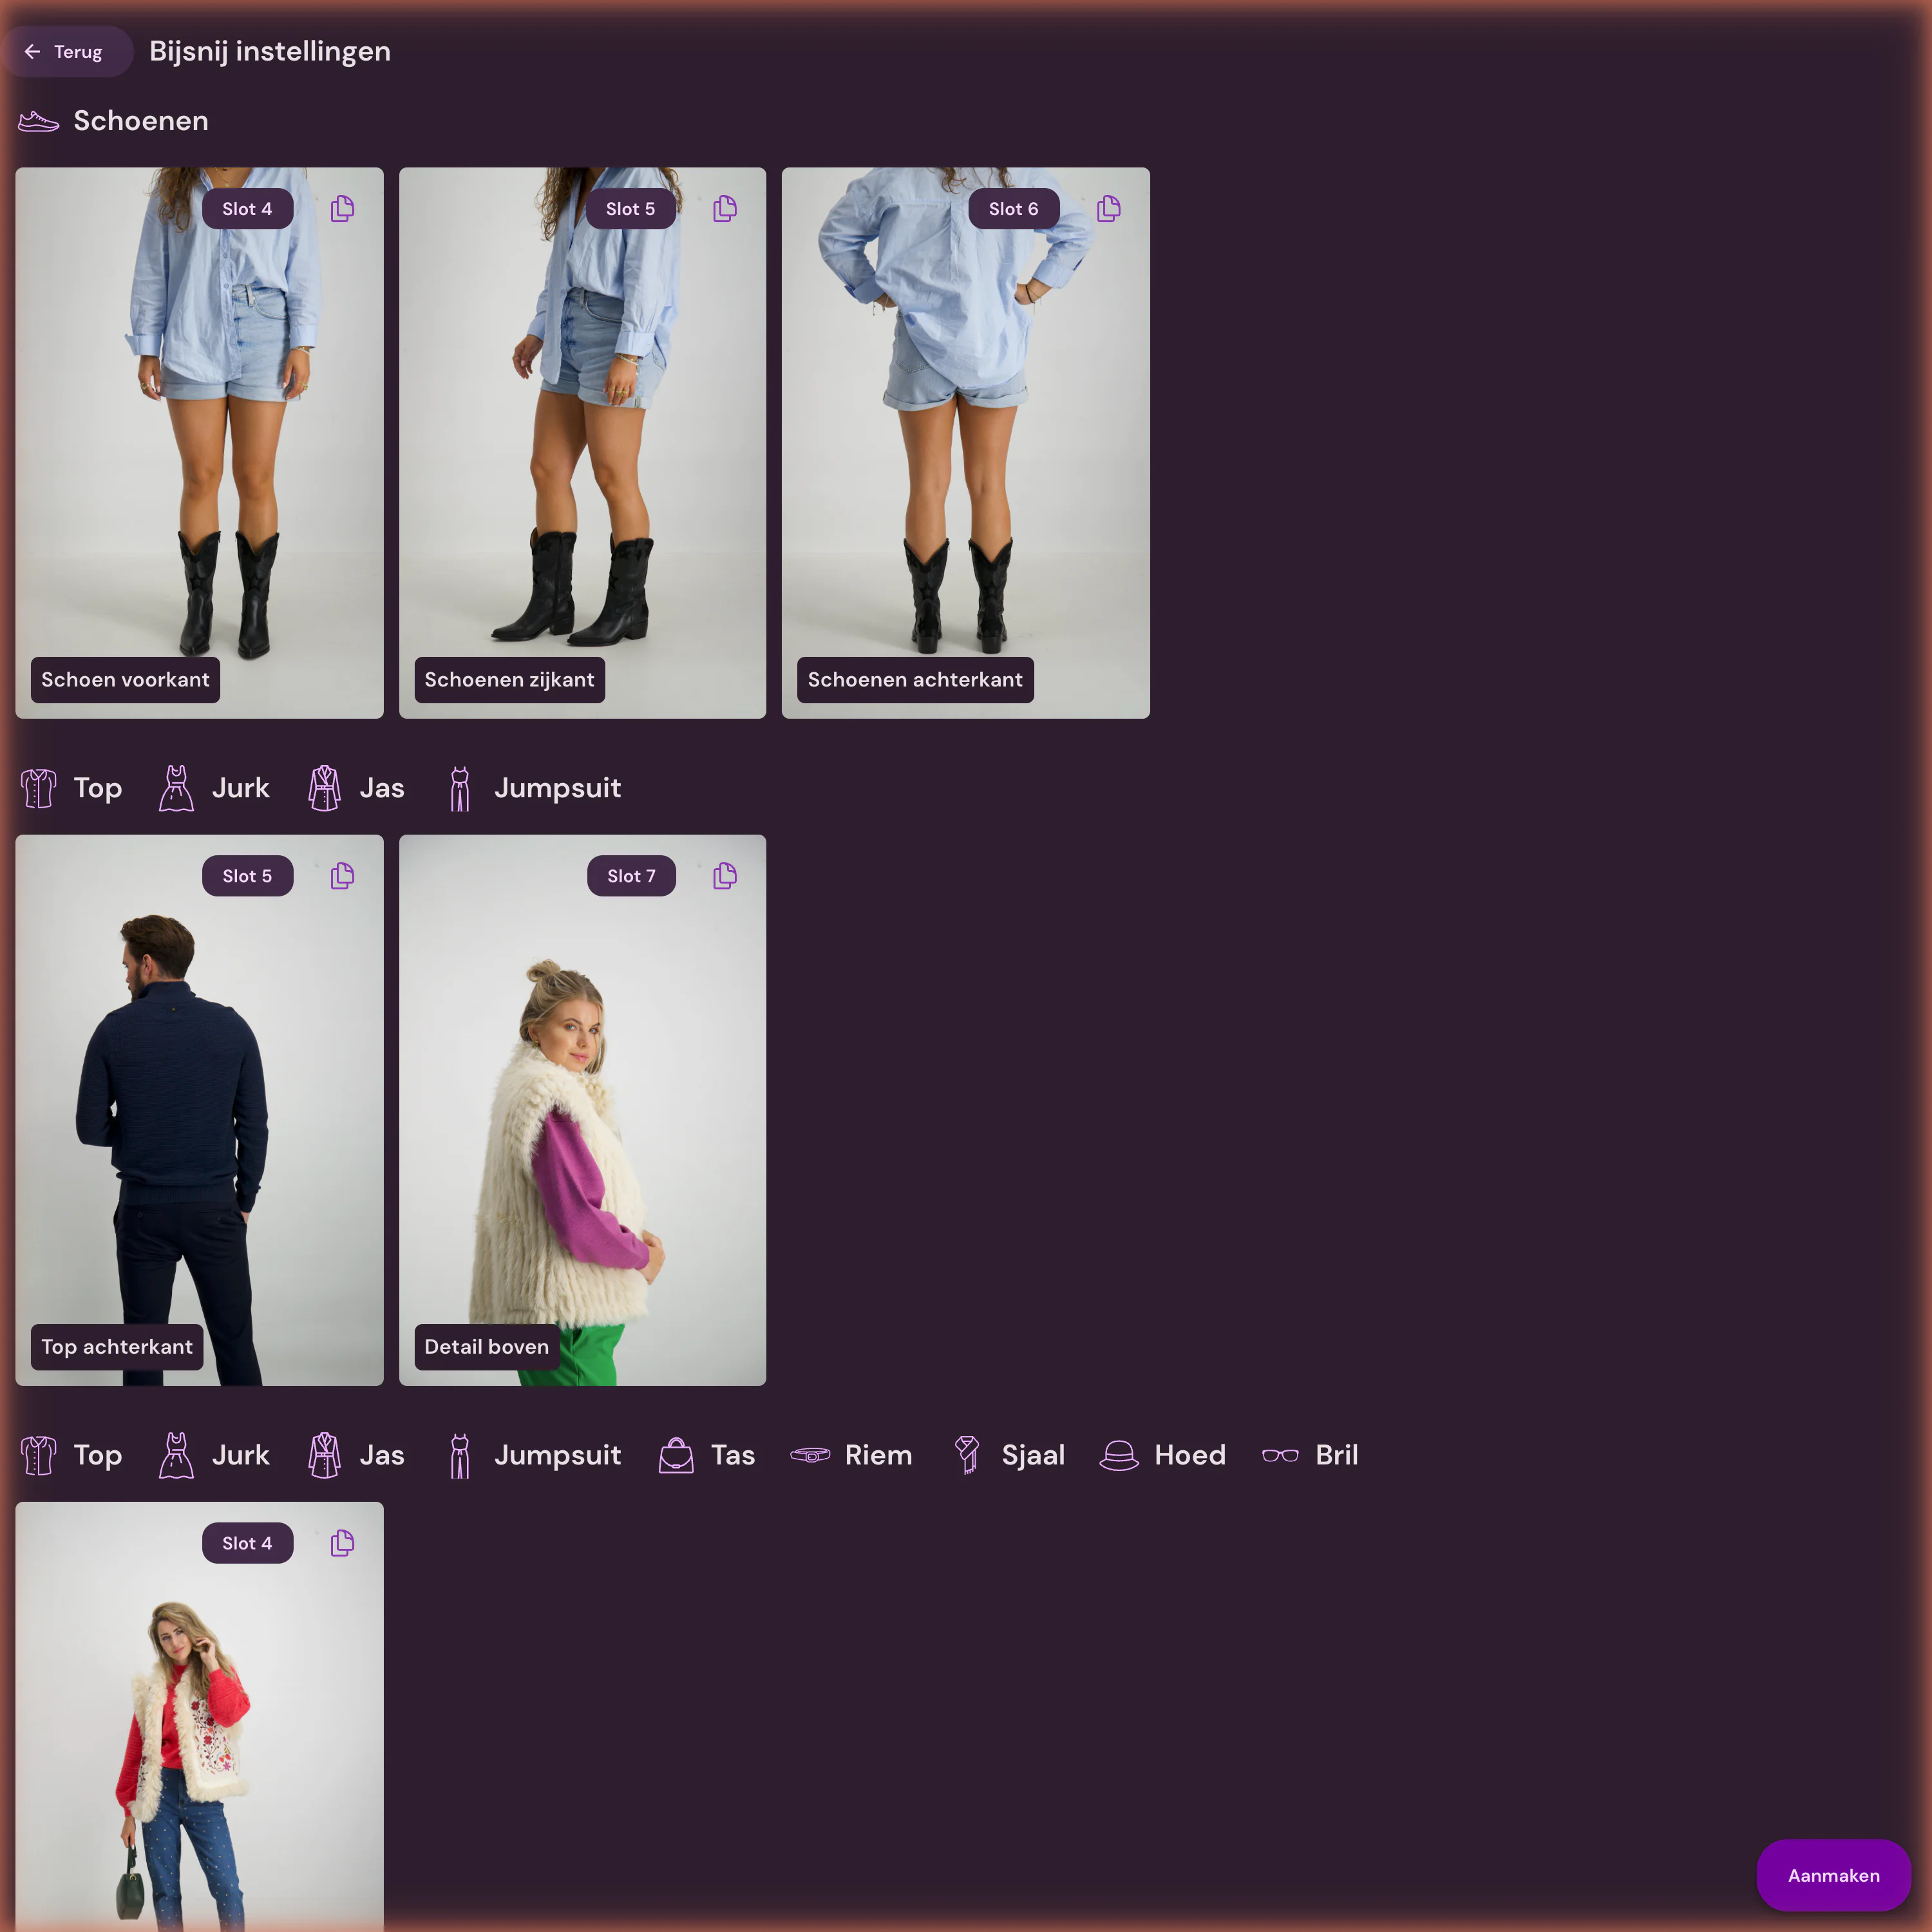
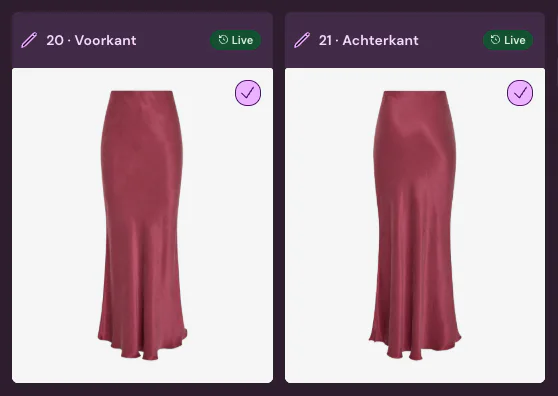
Decide in advance which photos each product detail page, or PDP, needs and in what order. We call these image slots: for example, slot 1 is always the front, slot 2 the back, and slot 3 a detail. Customers can browse a webshop faster when every product follows the same structure, and your team knows exactly what is still missing.
The number of views depends on the product type. A basic T-shirt only needs front and back, a jacket also benefits from details of the closure and lining, and shoes should be photographed at least from the side, front three-quarter view, and from above. Always shoot in the same order, so you do not have to sort anything afterward.
Detail images are often the difference between hesitation and purchase. Think close-ups of the fabric, a print, the buttons, the inner label, or the wash label. With a fixed list for each product group, you will not forget them.
| Article group | Fixed views | Extra if possible |
|---|---|---|
| Shirts and sweaters | Front, back | Fabric or print detail, collar |
| Coats and blazers | Front, back, side | Closure, lining, hood |
| Pants and skirts | Front, back | Waistband, pockets, leg width |
| Dresses | Front, back | Fabric detail, closure, model |
| Shoes | Side, front angle, top | Back, sole |
| Bags | Front, side, back | Inside, closure, worn shot |
Phone or camera?
A recent iPhone takes sharp photos that are more than good enough for flat lays, hangers, and small batches, especially if you work with a tripod and fixed lighting. The biggest advantage is speed: scanning, shooting, and uploading all happen on the same device. For secondhand, small boutiques, and interim reorders, this is often the smartest route.
A mirrorless camera is the better choice for high volumes, model photos, and fabrics with fine details. You have more control over depth of field, flash, and color, and with a tethered setup every photo immediately appears large on a screen. As a guide, a good camera with a standard lens costs €1,500 to €3,500, based on 2026 market prices in the Netherlands.
It does not have to be either-or. Many retailers photograph the main collection in the studio and use a phone to fill gaps, handle returns, or capture individual items. As long as both workflows use the same naming and the same post-processing, you will not see a difference in the webshop.
| Aspect | Phone | Mirrorless camera | Studio setup with software |
|---|---|---|---|
| Investment | Phone plus €200 – €700 for a tripod and lighting | €2,000 – €6,000 including lighting | €12,500 – €25,000 |
| Volume per day | Dozens of items | Dozens to hundreds | Hundreds of items |
| Best at | Speed, flat lays, small batches | Detail, color, model photos | High volumes, sets, and models |
File names and matching them to the right product
Most time is not lost during the shoot, but afterward: downloading photos from the memory card, renaming them, sorting them, and figuring out which photo belongs to which product and color. A fixed file name prevents that. A common pattern is product number, color code, and sequence number, for example 10234_navy_01.jpg for the front and 10234_navy_02.jpg for the back.
Use the number your POS or ERP system also uses, or the EAN code from the barcode. Avoid spaces, accents, and free-text descriptions such as blauwe-trui-nieuw-def.jpg, because no system can reliably match on those. Define the pattern and make sure everyone who shoots uses the same one.
The best setup is when the photo does not need a name at all, because you scan the barcode first and then attach the photo directly to that item. That way, there is no separate folder of files left to sort out.
Checklist for every photoshoot
A short checklist keeps quality consistent, even when different people are taking the photos. Hang it next to the set and run through it at the start of each session.
| Moment | Check | Why |
|---|---|---|
| Before the session | Camera on tripod and marked position, fixed white balance, gray card photographed | Every photo the same size and color |
| Before the session | Other lights off, softboxes on fixed settings | No mixed color temperatures |
| Per item | Barcode scanned or item number recorded | Photo is assigned to the right item |
| Per item | Steamed, labels and loose threads removed, buttons fastened | Less post-production |
| Per item | All views in the fixed order | No gaps in the image slots |
| After the session | Spot-check sharpness and color against the actual product | Fewer returns due to color differences |
How Photopilot helps: iPhone app and Studio with Canon
With the Photopilot app for iPhone, you first scan the item’s barcode. The app asks whether you are photographing a flat lay, a mannequin, or a hanger, and the photo is then placed directly with the correct item, with no renaming or uploading. With the Article Info scanner in the same app, you can also read the material and care label; care symbols are recognized live in the viewfinder.
Photopilot Studio is an app for Windows and macOS with a direct connection to Canon cameras. You scan the item, take the photos, and every shot is immediately tagged with the item, view, sequence, and publication status. If you use other studio software, such as Capture One, photos are imported through a shared folder with fixed filenames. A complete setup with a Canon EOS R6, two to four flashes or lights, and Photopilot Studio starts at an estimated €12,500 – €25,000.
After that, the software handles the routine work: background removal, cropping to your template for each product group, shadow, and color correction, all included in the monthly plan from €500 per month. Removing the mannequin costs no more than €0.05 – €0.21 per image. If you also want a model photo from your packshot, Photopilot creates it with AI for €0.05 – €0.21 per queued photo, often ready within an hour.
When do you not need Photopilot?
If you sell a few new items a month, a phone with a tripod, two lights, and a free or low-cost background-removal tool are often enough. The same applies if you only use supplier images and never shoot your own photos; in that case, automatically importing those images is more important than a photo studio.
Photopilot becomes useful when you shoot dozens to hundreds of items each week, work with multiple people, or use a mix of images from the studio, phone, and suppliers. The value is not in the photo itself, but in everything that comes after it: linking, editing, checking, and publishing.