

Why bulk work is different from cutting out a single photo
You can now cut out a single product photo in seconds with all kinds of apps. With hundreds or thousands of photos per season, the question changes. It is no longer about whether the cutout works, but how many photos you still need to check by hand, and whether all those photos look right next to each other on your category page.
A cutout image is only half of a good packshot. After that, the product has to sit in the right place in the frame, with the same margins, the same shadow, and the same color as the rest. If you do that by hand for each photo, you quickly lose the time saved by automatic background removal.
For bulk processing, look at three things: how well the tool handles difficult edges, how you define crop and shadow per product type, and how the photos are then linked to the right product in your online store.
What types of tools are available?
Online background removal services and apps, such as Photoroom and remove.bg, are fast and simple: you drag in a folder and get cut-out images back. They work by credit or subscription and are ideal for small runs and individual photos. For larger volumes, most offer an API so your developer can integrate them into your own system.
Desktop software such as Photoshop or Affinity can use actions and batch processing to edit an entire folder at once. You keep full control, but you have to build and maintain the actions yourself, and difficult edges still require manual work. Retouching agencies handle clipping for you, with people or with a mix of software and people, and charge per image.
The final category is platforms that automate the entire image flow: photo intake, linking to the product, clipping, cropping, shadow, color, review, and publication. Photopilot belongs in this category. Which type fits best mainly depends on your volume and how many steps still come after clipping.
| Tool type | Indicative costs | Best at | Note |
|---|---|---|---|
| Online background removal service or app | A few cents to €0.30 per image | Fast, no installation | You handle cropping, naming, and upload yourself |
| API from a clipping service | Per image, volume tiers available | Build into your own system | Requires development work and maintenance |
| Desktop software with batch actions | License per month | Full control | Build actions, keep edges manual |
| Retouching agency | €0.50 – €3 per image, more for ghost mannequin | Difficult products, human review | Lead time of days |
| Workflow platform like Photopilot | Monthly plan from €500 | The full workflow from photo to webshop | Only worthwhile at consistent volumes |
Choosing between a standalone background-removal app and a platform? The comparison page with Photoroom shows the differences side by side.
Where automatic cutouts go wrong
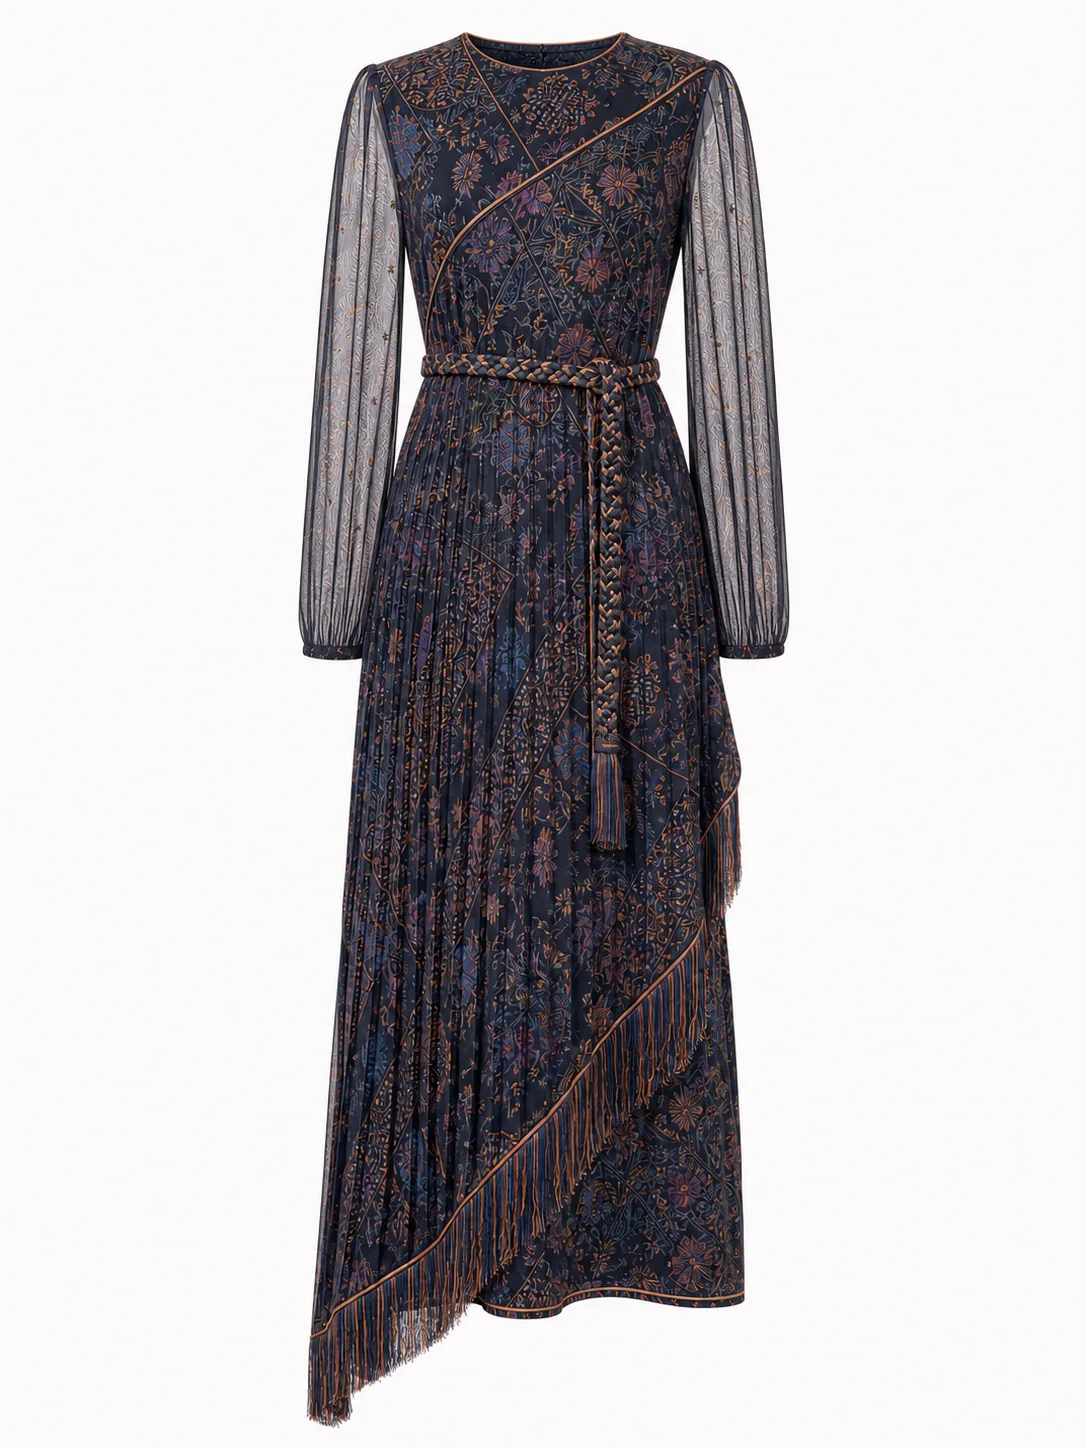
Hair and lint are the classic pitfall. With mohair, faux fur, fuzzy wool, or a model with loose hair, edges can quickly become harsh and jagged, or a haze from the old background may remain. Fringes, tassels, laces, and straps have the same issue: thin parts disappear or get a gray edge.
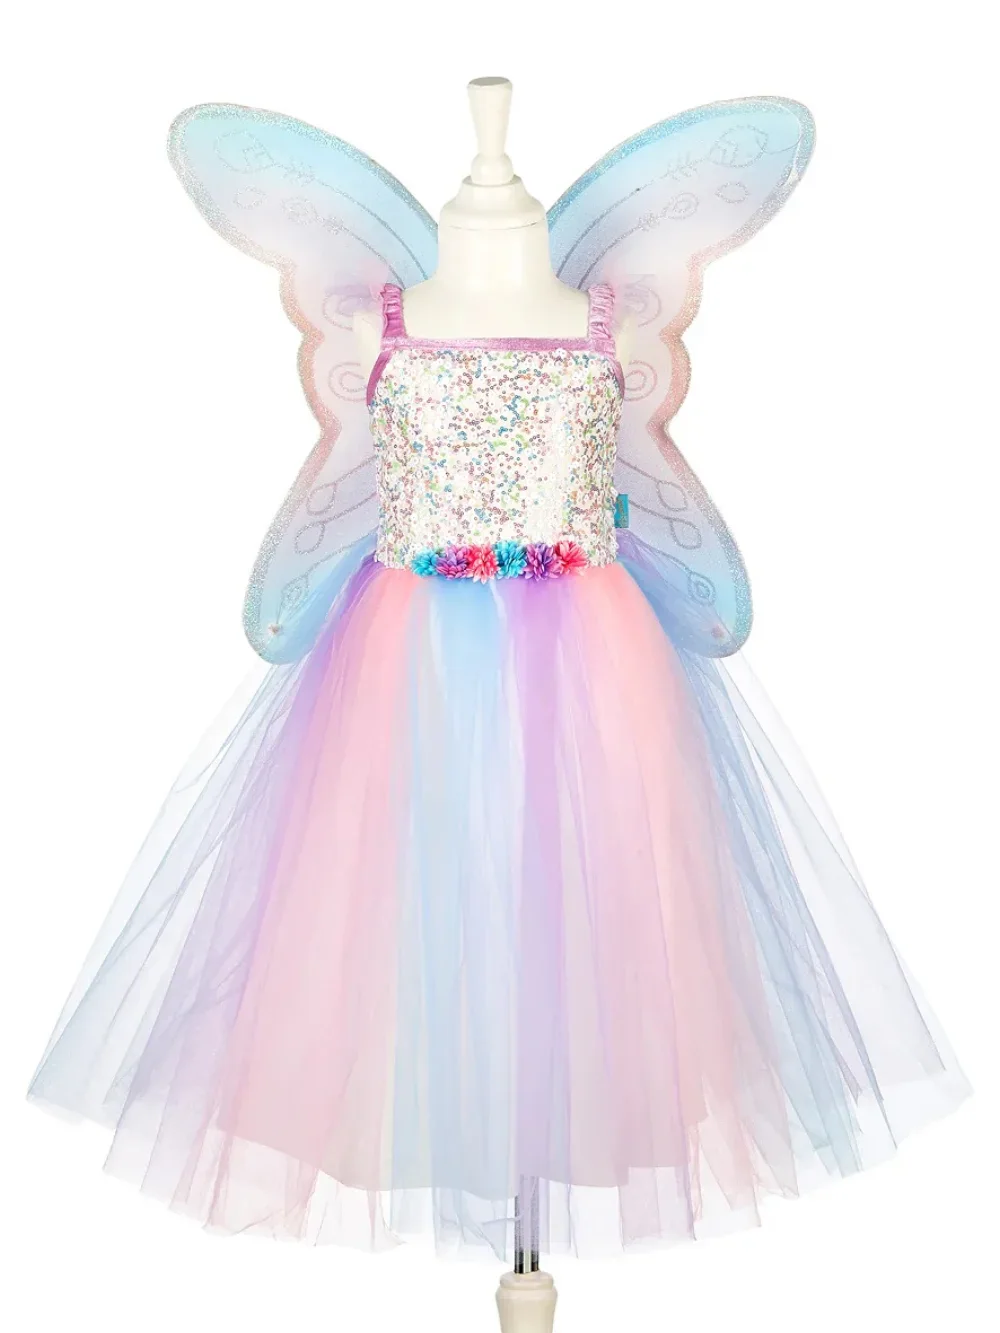
Transparent and translucent fabrics are harder than they look. With tulle, chiffon, lace, and mesh, the new background has to show through the fabric, not the old studio wall. Many tools cut the fabric out as a solid shape or leave holes instead.
White on white, such as a white sneaker or a cream sweater on a white background, is difficult because there is little contrast between the product and the background. Edges disappear, or the product gets a dark outline. Open areas, such as the space inside a bag handle or between arms and body, also do not always disappear automatically: a piece of the old background may remain there.
- Hair, lint, fur, and mohair: harsh or blurry edges
- Fringes, tassels, laces, and straps: thin details disappear
- Tulle, chiffon, lace, and mesh: the old background shows through
- White on white and light gray: disappearing edges or dark outlines
- Holes in handles and between sleeves: leftover background
- Gloss and reflection: studio reflections on the product
Shadow: remove, keep, or add
A cutout product without any shadow looks like it is floating. For clothing on a ghost mannequin, that is exactly the point, but a shoe, bag, or suitcase without a shadow looks fake, as if it was pasted on. So the shadow is not a detail; it is a choice per item type.
There are roughly three options. You can remove all shadow for a clean, floating image. You can keep the real floor shadow from the original photo, which looks the most natural but only works if the shot is clean. Or you can add a new, consistent contact shadow so every product sits on the floor in the same way.
The main thing is to define the choice for each product group. A category page where one shoe has a hard shadow and the next has none looks messy right away, no matter how good each individual photo is.
Consistency: template, margins, and color
A template is a fixed grid for your product images: how much space remains above, below, and next to the product, where the top of the shoulders sits, and where the bottom of a pair of pants ends. With a template per item group, all sweaters sit at the same height and all pants appear the same size, even when the photos come from different photographers or suppliers.
Each image slot also needs a fixed aspect ratio, such as 3:4 for apparel or 1:1 for accessories, aligned with your webshop grid. So a tool that only removes the background and leaves the product where it was still does not produce a webshop-ready photo.
Color is the third layer. After cutout, a product can look slightly too cool or too warm, especially when photos come from different sessions or sources. Color correction based on a reference image keeps the product color close to the real item, reducing returns caused by color differences.
Rules by item type
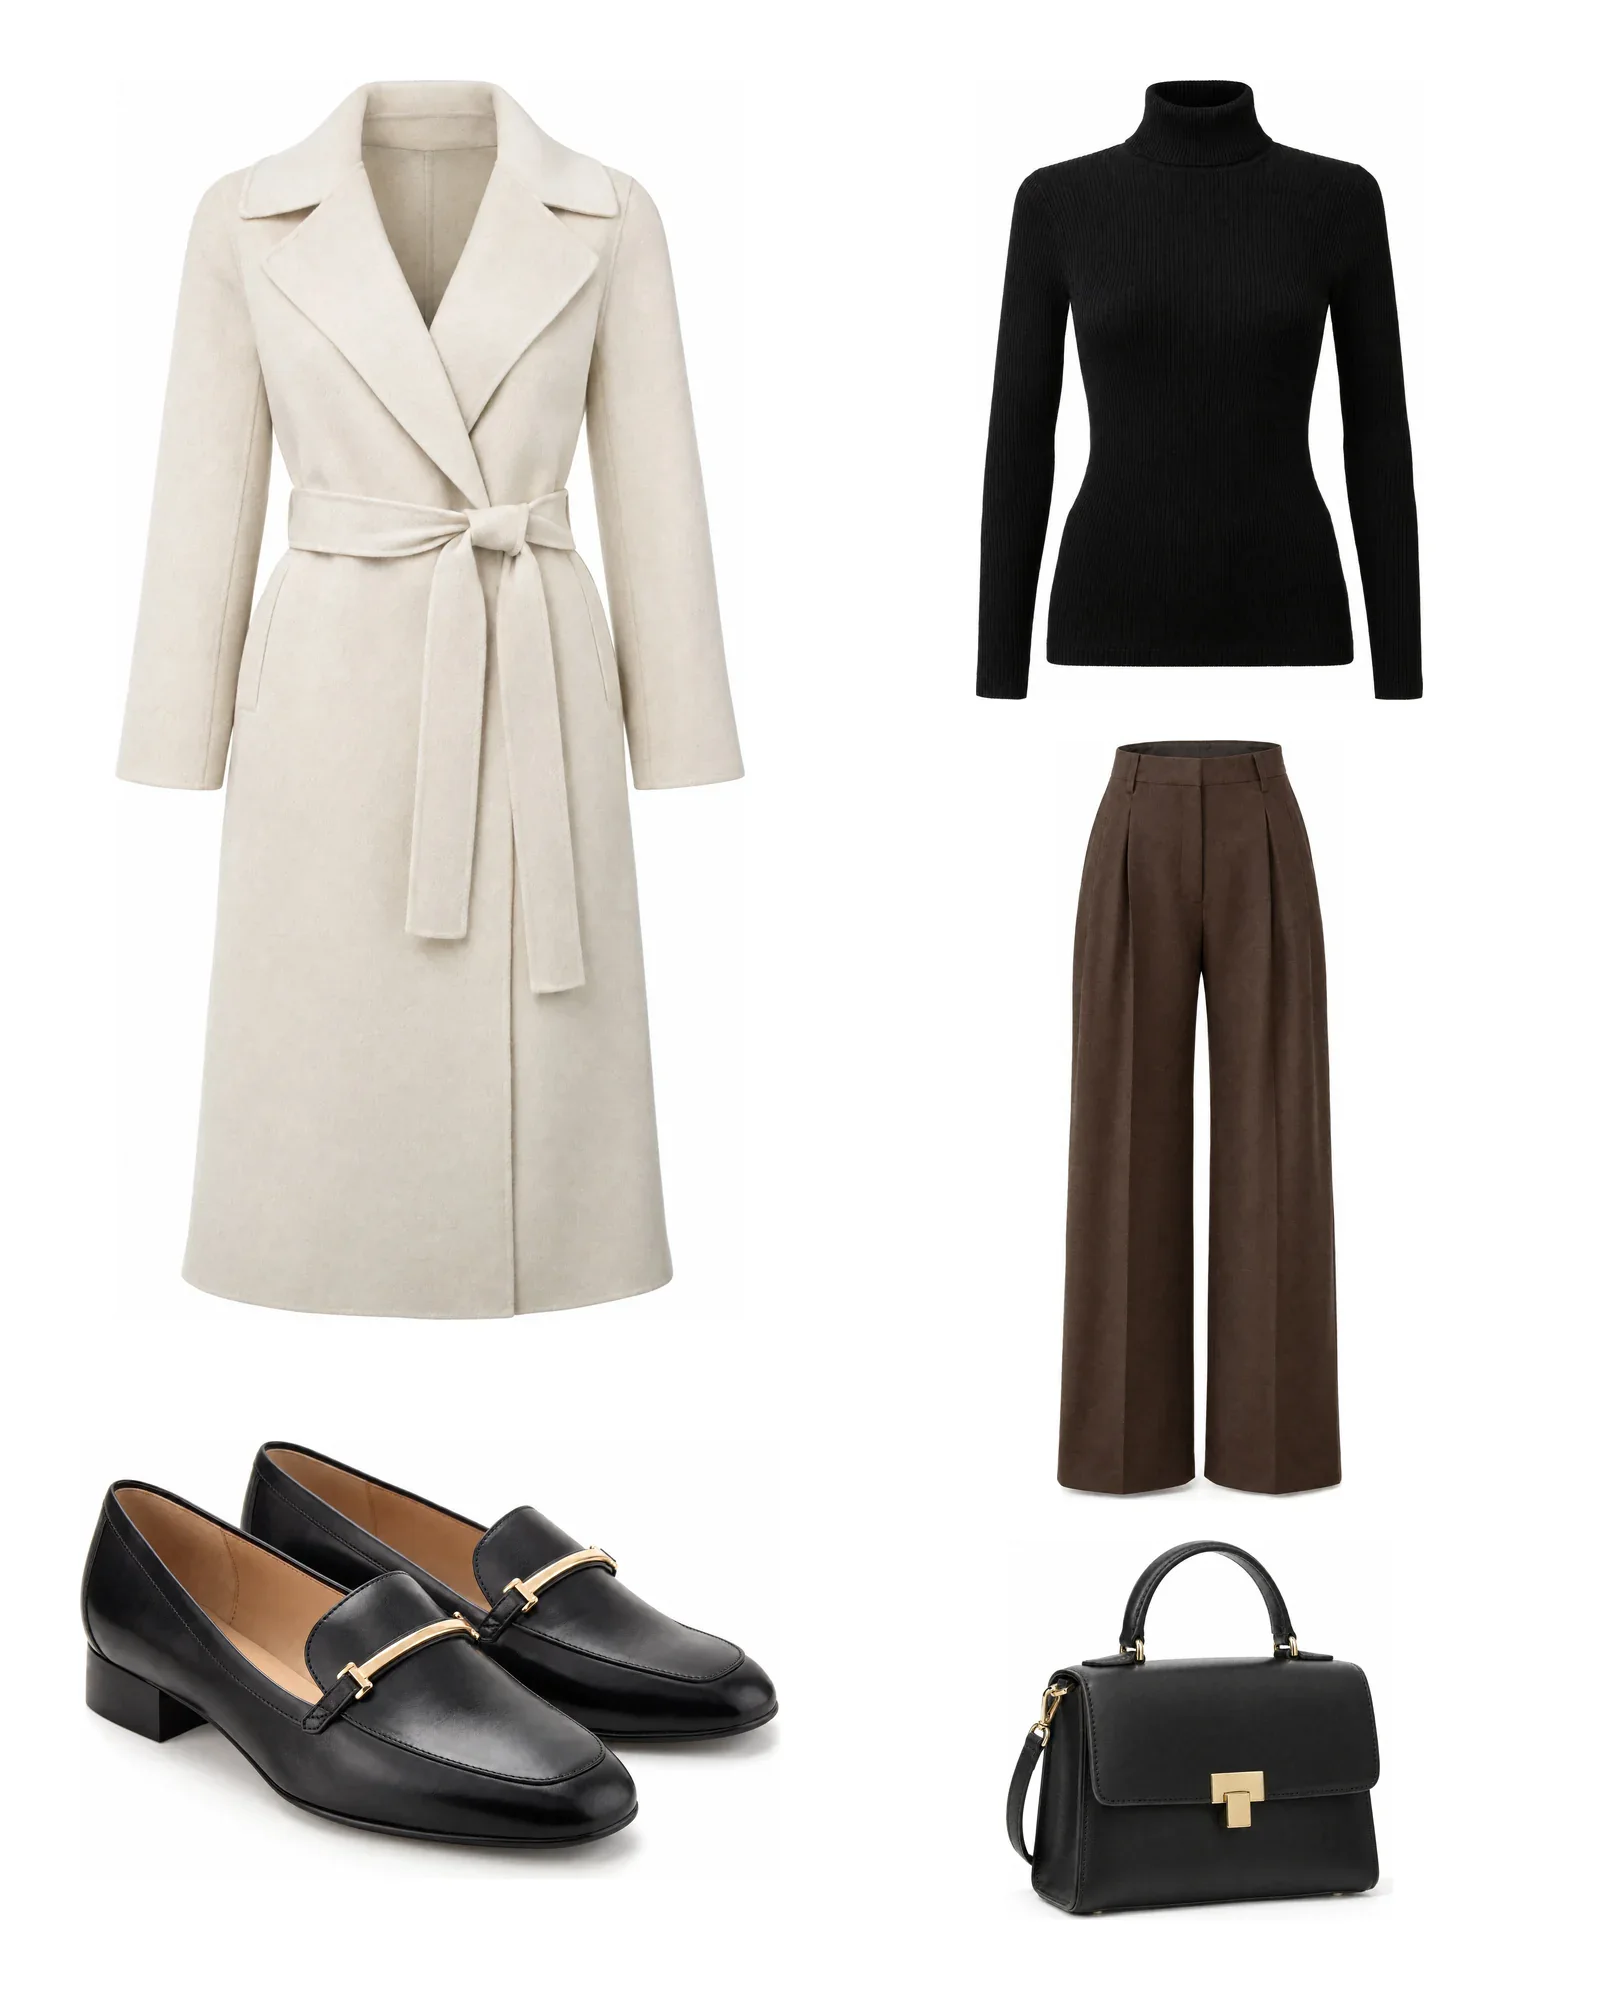
Define once, for each product group, what the final image should look like, then let the software apply it to every photo. Below is a starting point that works for most fashion and lifestyle webshops; adapt it to your own brand style.
| Item type | Crop and margin | Shadow | Note |
|---|---|---|---|
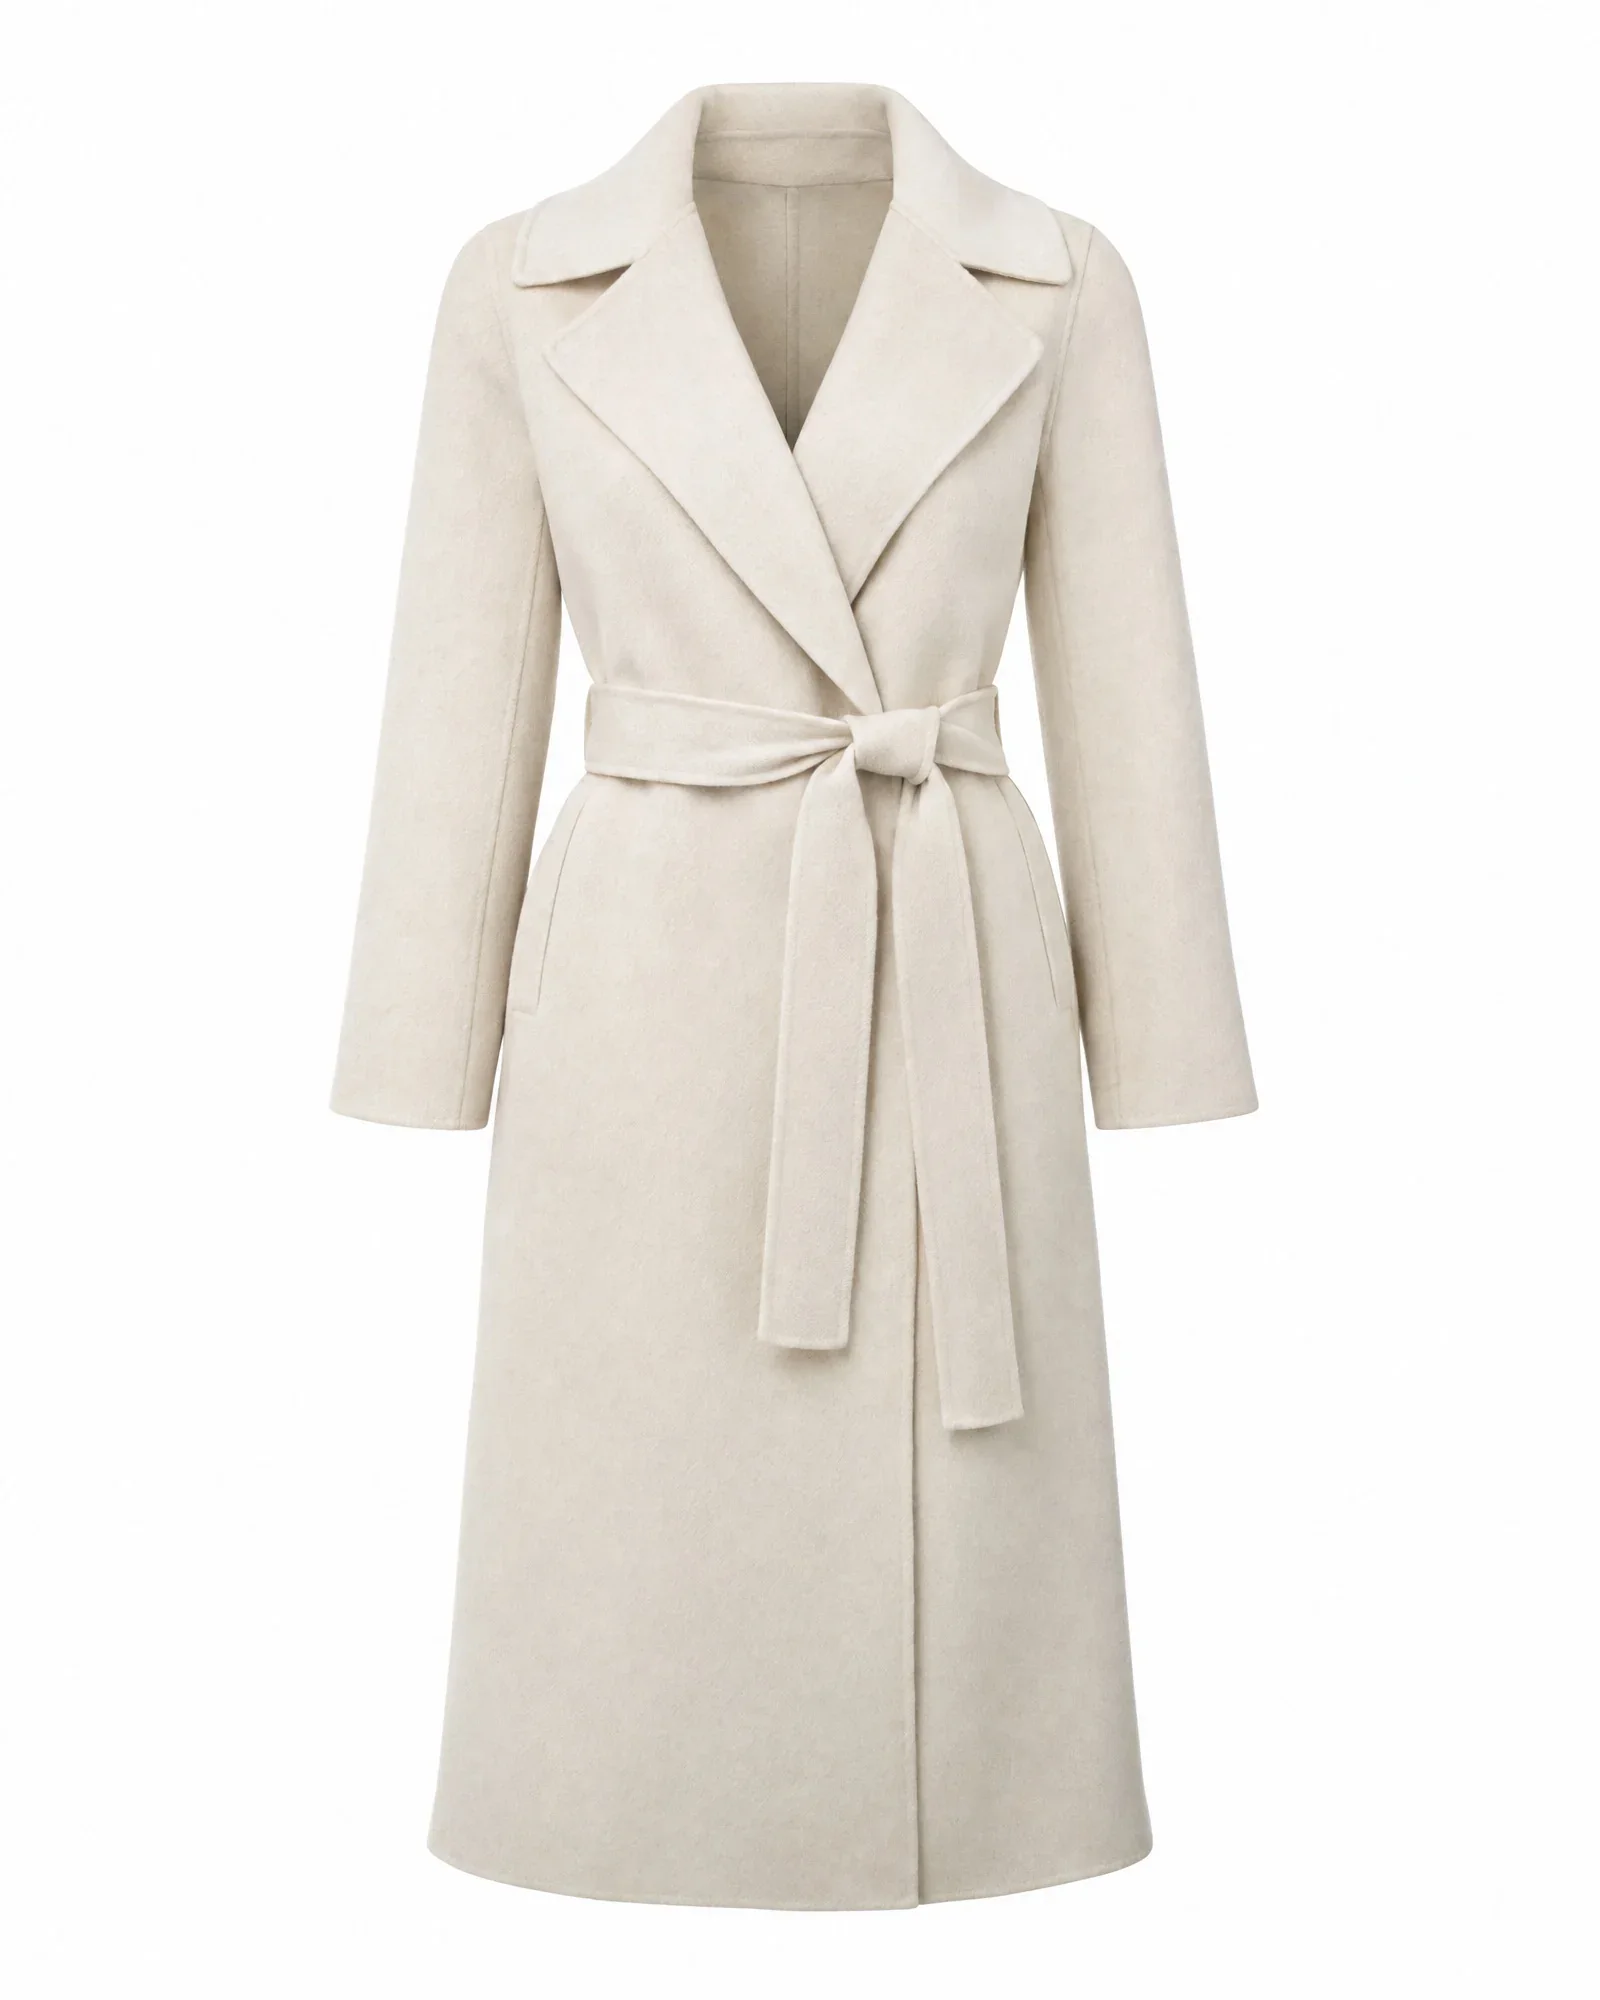
| Shirts, sweaters, jackets | Fixed shoulder line, equal top and bottom margins | None, floating packshot | Remove mannequin, lint on knitwear |
| Pants and skirts | Waistband at a fixed height | None | Clear the gap between the legs |
| Dresses | Shoulders on a fixed line, zoom within frame | None | Transparent sleeves and fringes |
| Shoes | Sole on a fixed baseline | Contact shadow | White soles on white, laces |
| Bags | Body on the baseline, handle may extend above it | Contact shadow | Hole in the handle, scale by size |
| Jewelry and accessories | Higher fill, detail is important | Soft or none | Gloss and reflections |
When a standalone tool is smarter
If you photograph a few dozen items per month and add them to your online store yourself, an online cutout service or app is often the cheapest and fastest solution. You only pay for what you use, and you do not need to connect anything. If you occasionally have a very difficult product, such as a fur coat or a glass object, paying a retoucher per image can also work well.
A platform only pays off when background removal is just one of many steps you currently do by hand: renaming photos, linking them to items, cropping them to your template, checking them, and publishing them. If your images come from multiple sources, such as your own studio, a phone, and suppliers, that is almost always the case.
How Photopilot does it
In Photopilot, background removal is not a one-off action, but the first step in a fixed workflow for each item group. Every photo is added to the right item, from the studio, the iPhone app, a supplier, or an upload, and then automatically receives the same treatment: background removed, crop based on that item group’s template, shadow based on the rule for that type, and color correction using reference images.
You configure shadow by item type: apparel packshots remain shadow-free by default, shoes, bags, and other products can have a contact shadow, and model photos can keep the real floor shadow from the shoot. Background, crop, shadow, and color correction are included in the monthly plan from €500 per month; removing a mannequin and generative AI, such as an AI packshot, cost no more than €0.05 – €0.21 per image.
Each result is shown next to the source photo, so you can quickly spot edge cases. Per brand or collection, you choose whether images go live automatically or get a quick check first, and then they are sent to your online store with the correct file name and order.